


What Is A Live Streaming Course ?
Livestream courses are online classes that you schedule in advance and deliver in real-time at a specified timeslot, mirroring physical classrooms. CUclass offers a range of online interactive tools, such as collaborative editing and breakout sessions to bring you closer to your students! What's more, students can enjoy unlimited access to replays for 30 days even after the course has ended, making it easy for students to review and learn anytime, anywhere.

Why Should It Be Used?
4 Key Features of Livestream Courses
What are the 4 Key Features of Livestream Courses? How can they help?

Exceptional Service Quality
Increase your profit margin at a groundbreaking low cost with the best service quality

Replicates Real-life Classroom Experiences
Effective teaching models and collaboration tools to get you immersed in state-of-the-art virtual classroom scenarios

Intellectual Property Protection
Dynamic watermarking on videos to protect against unwanted sharing

Diverse Marketing Channels
Promote and sell your courses through various portals to reach a broader audience
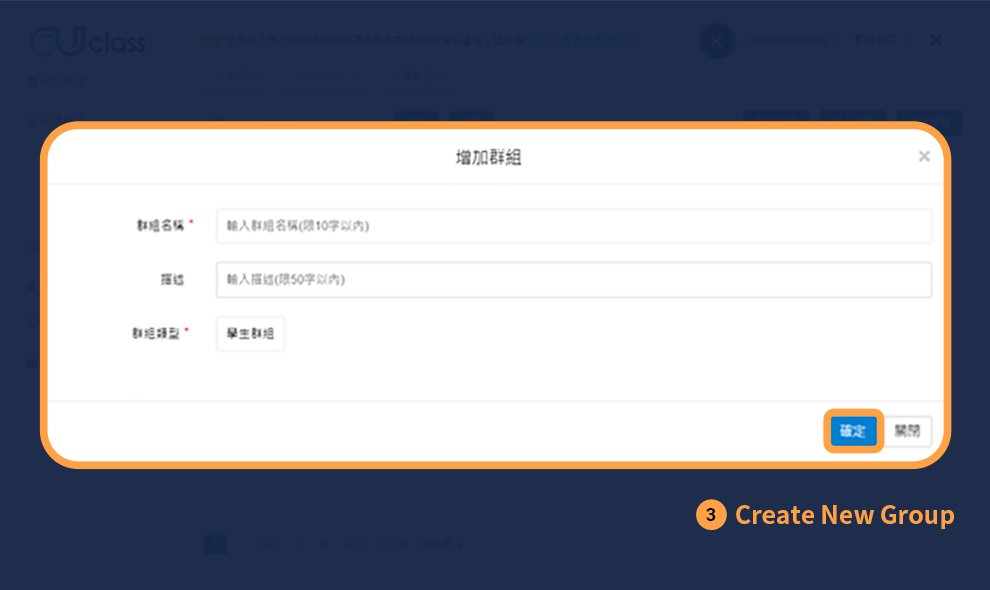
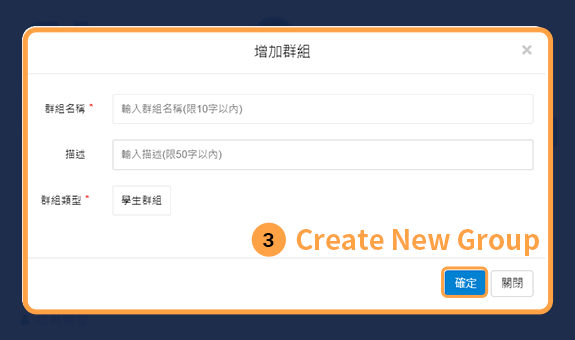
3 Steps To Create Your Own Live Streaming Course
The keystone to effective teaching and educational success.
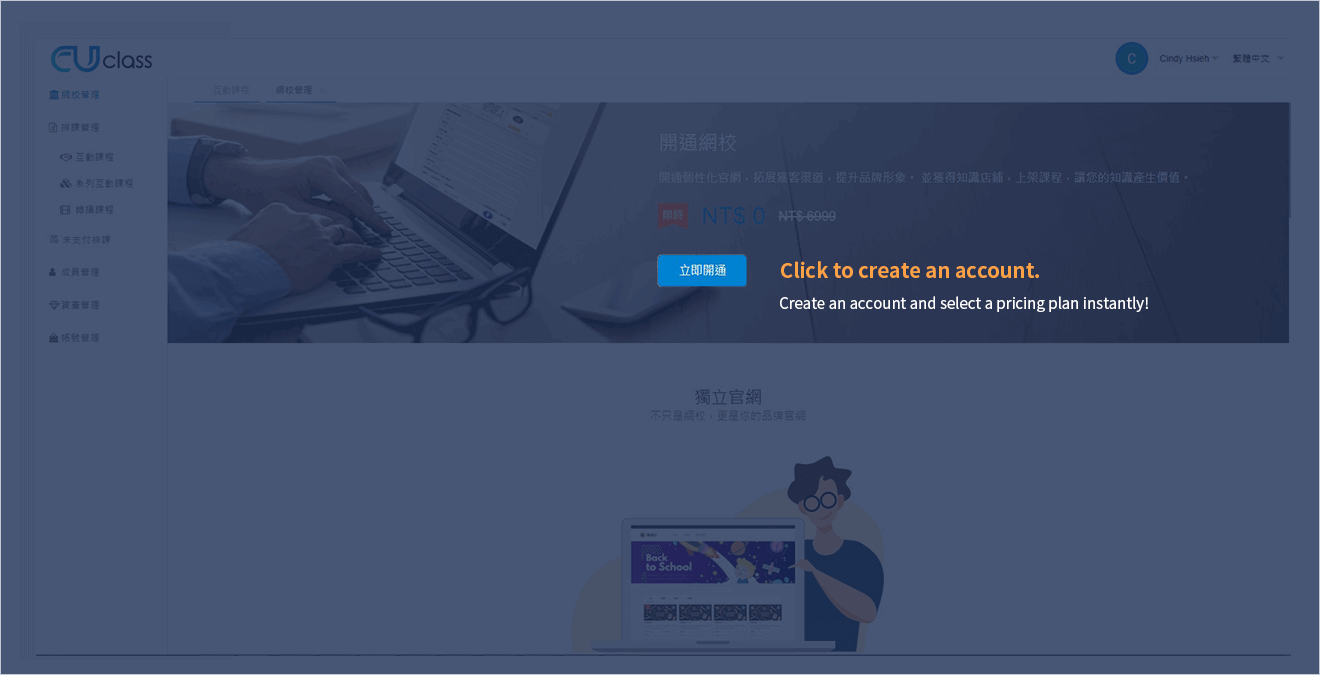
Create an Account. Select a Pricing Plan.
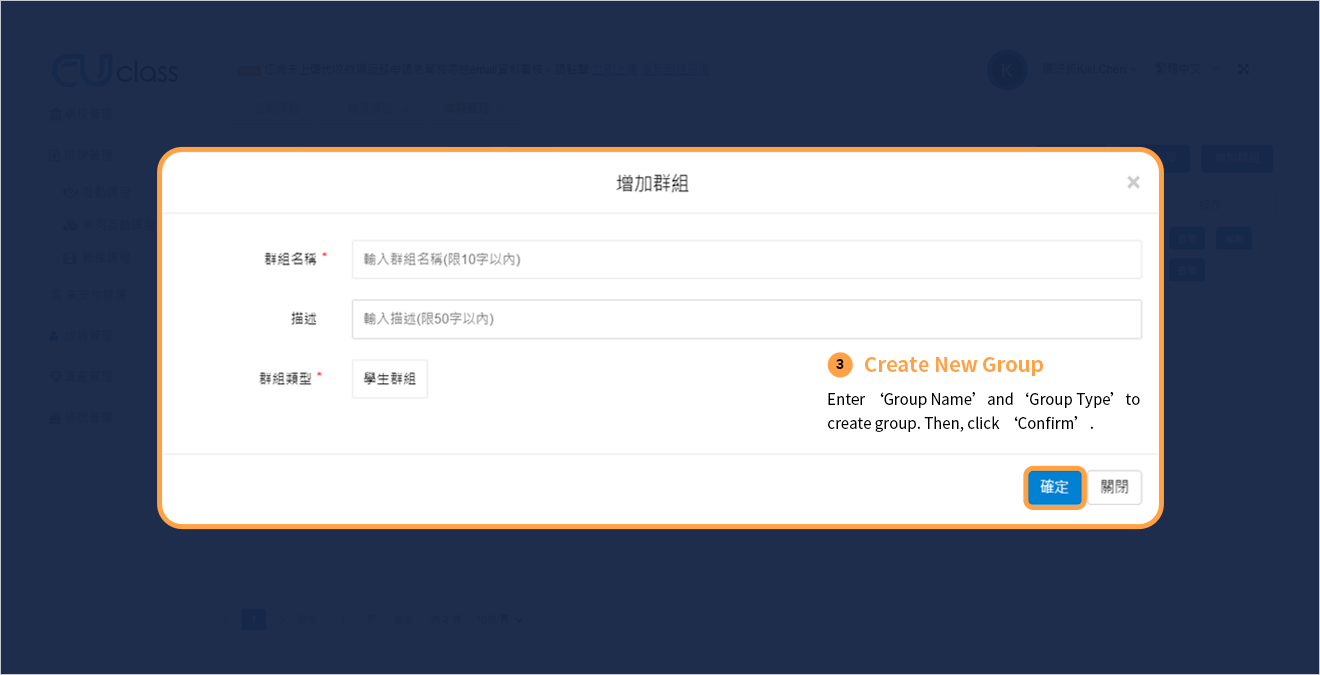
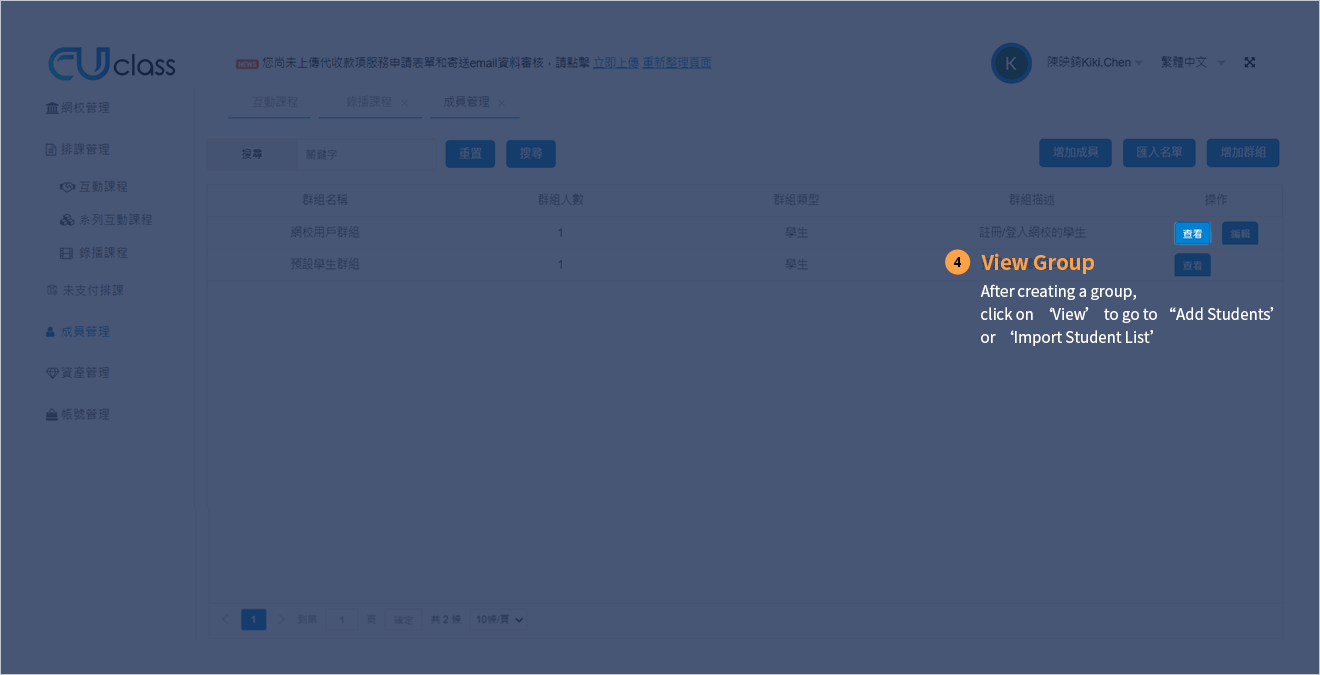
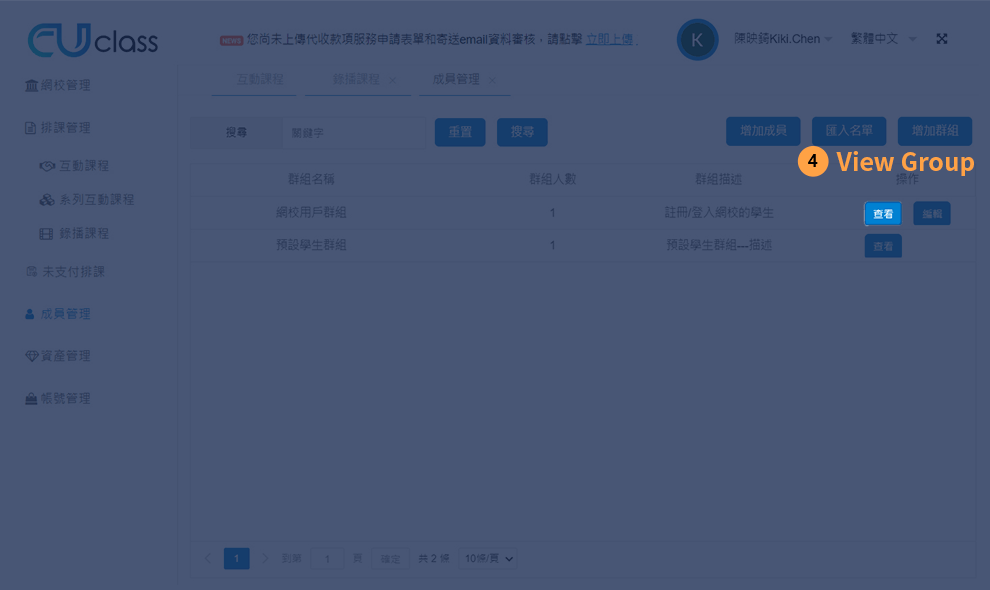
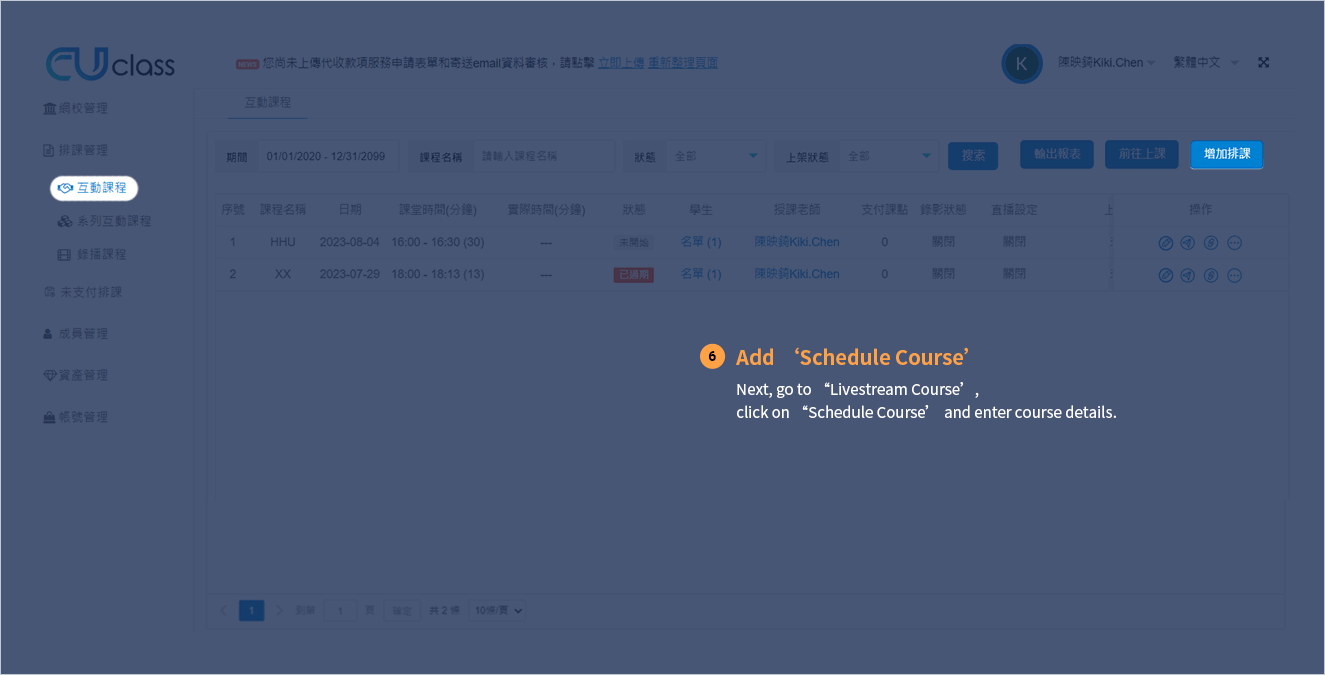
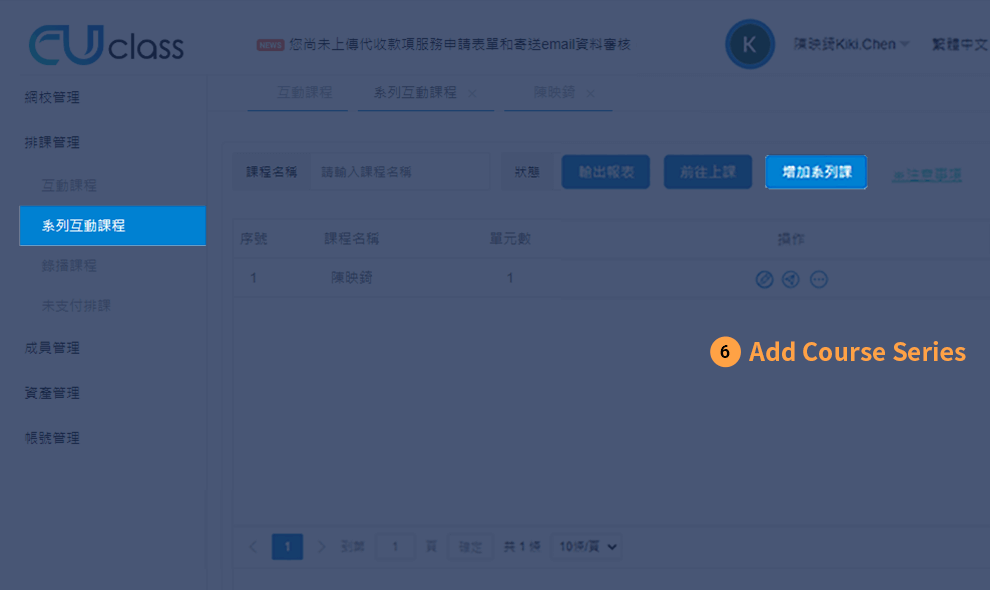
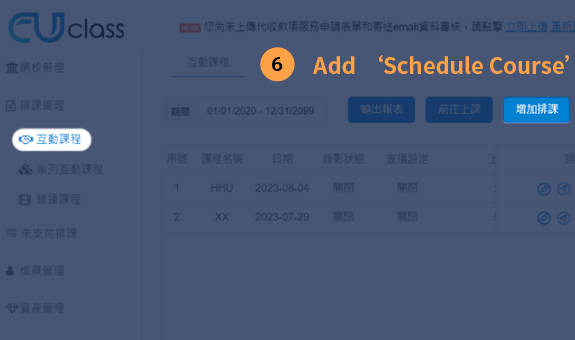
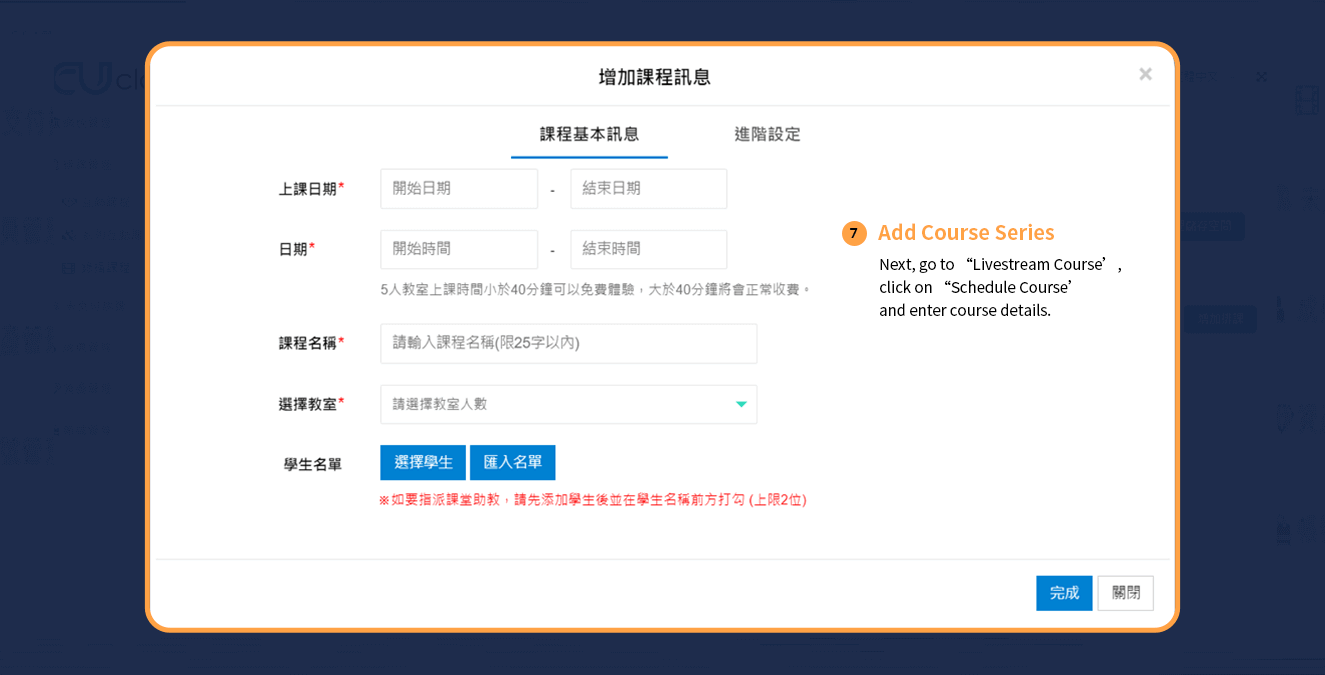
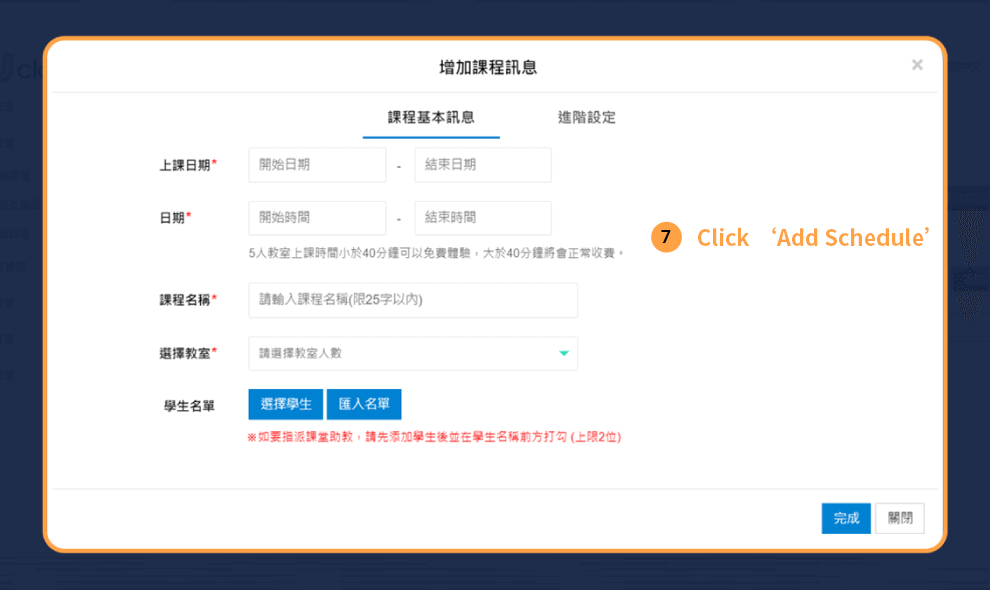
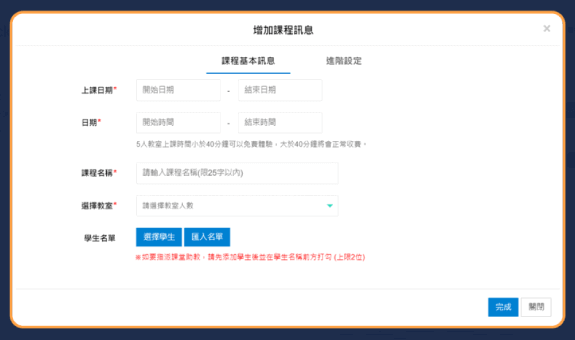
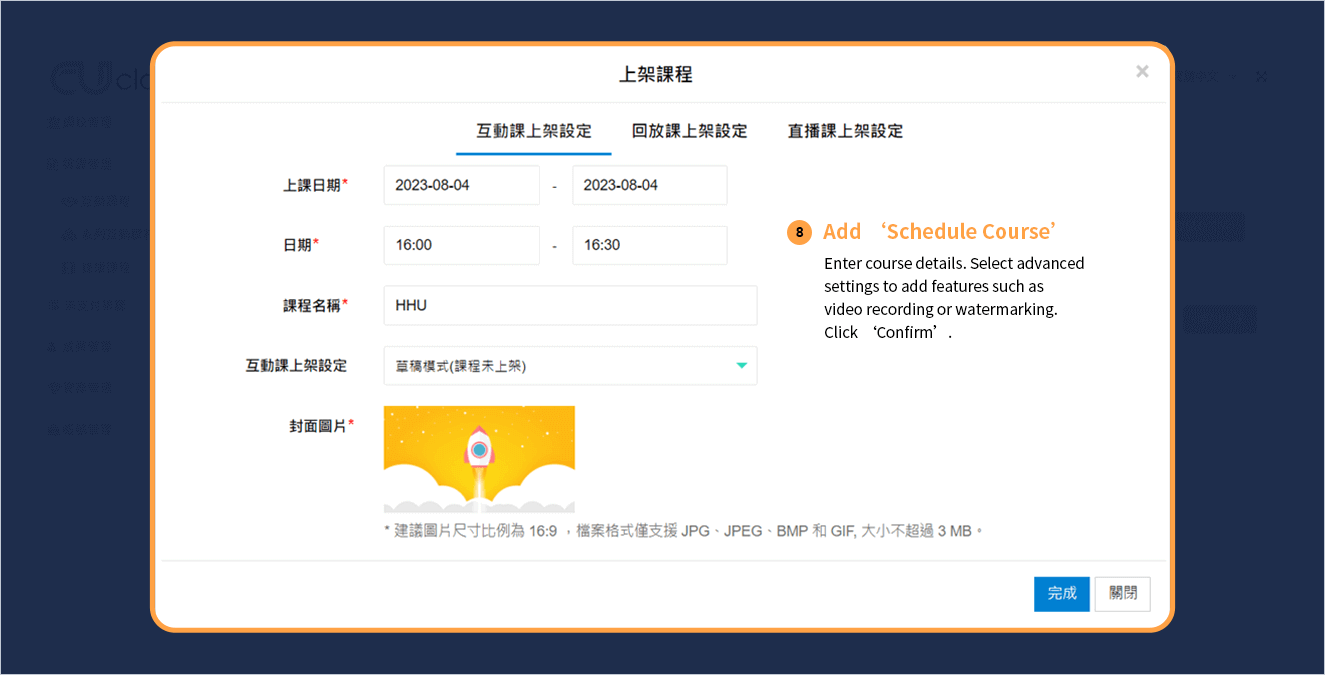
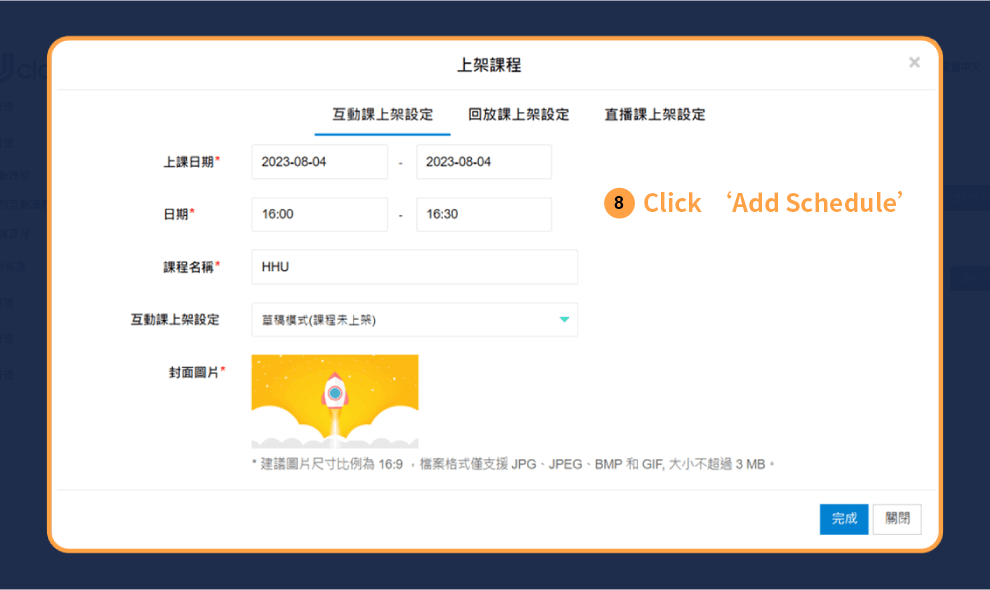
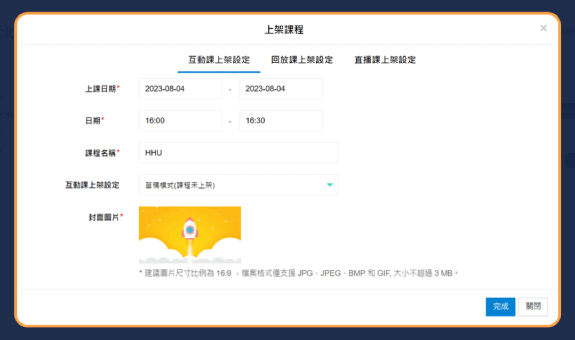
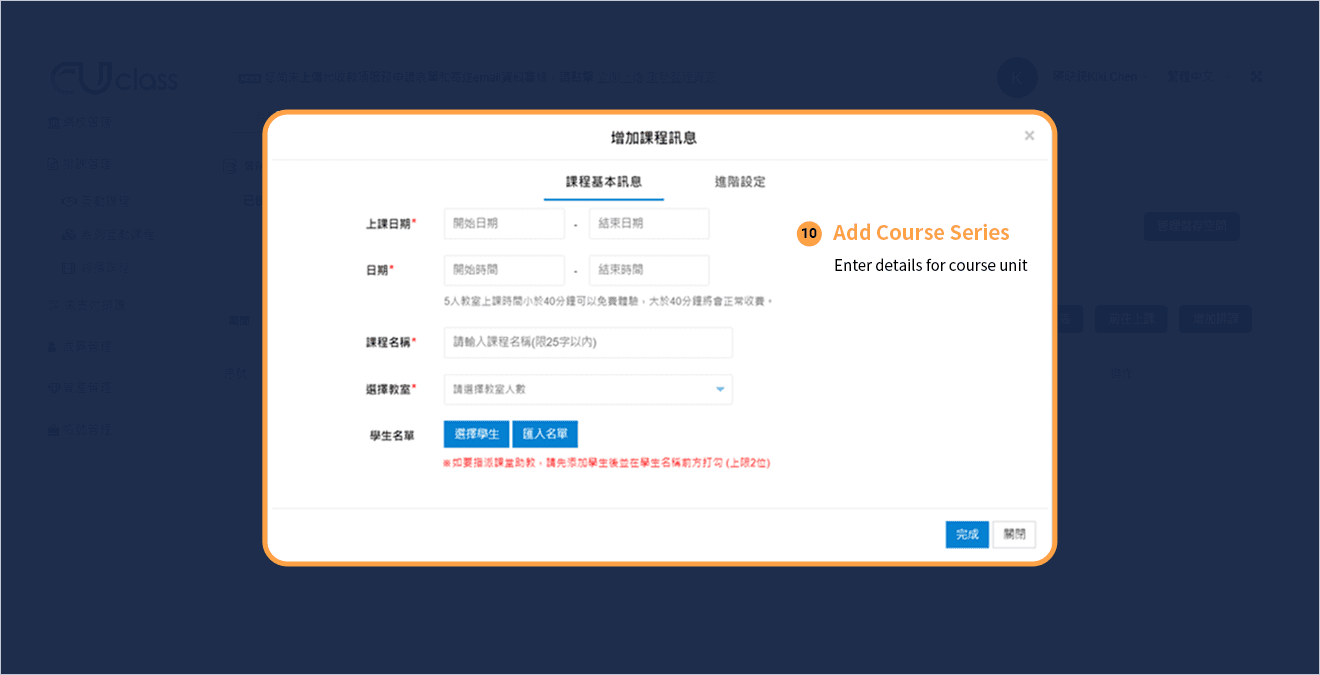
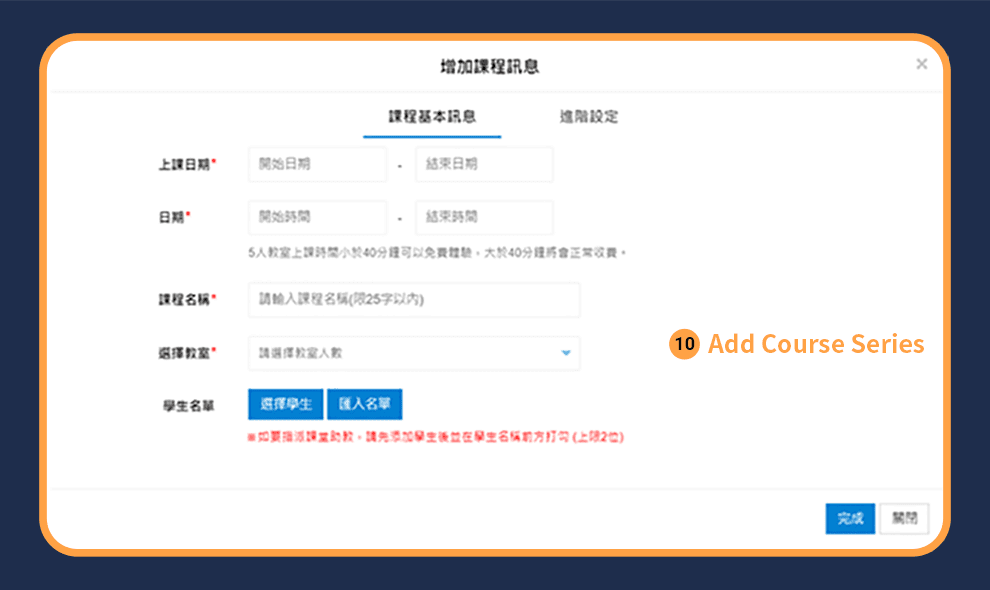
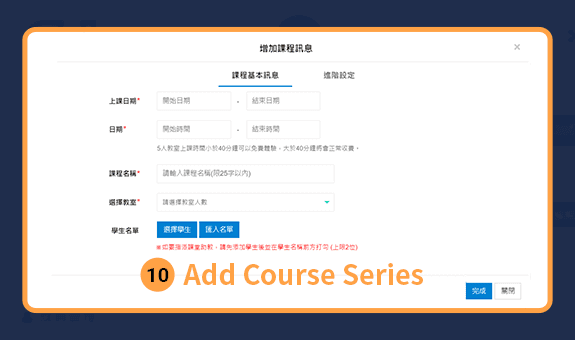
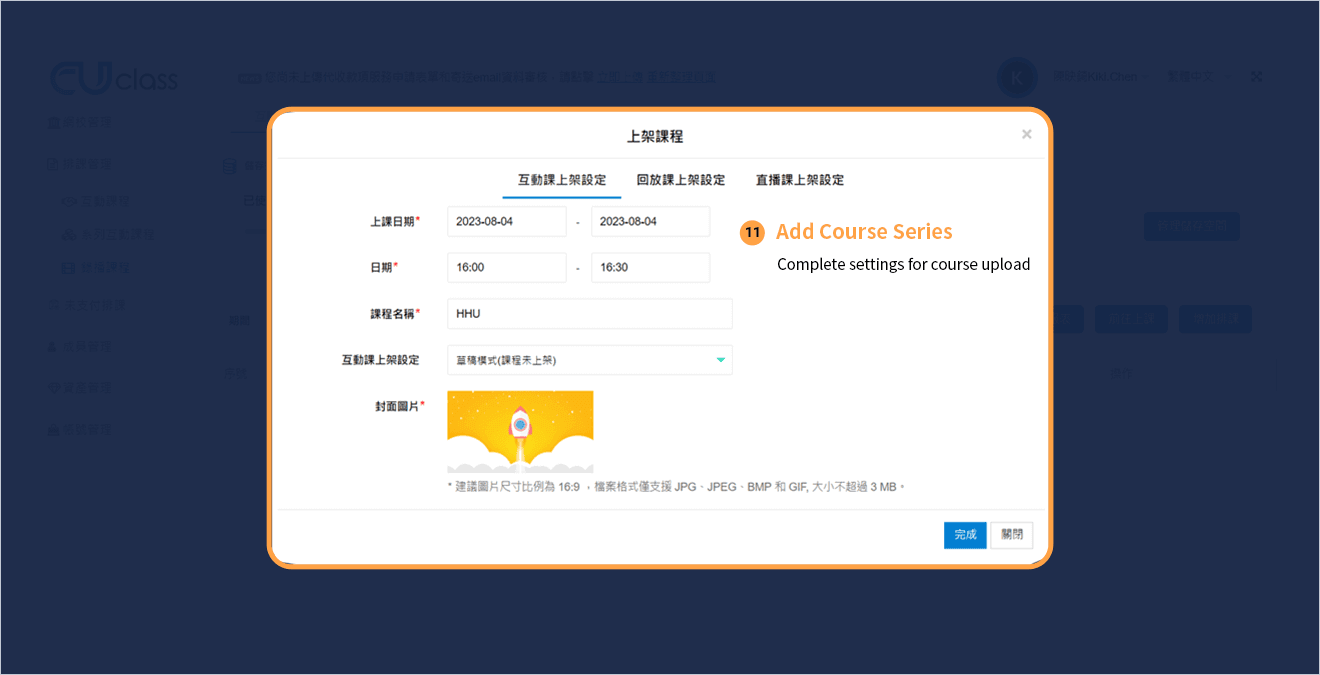
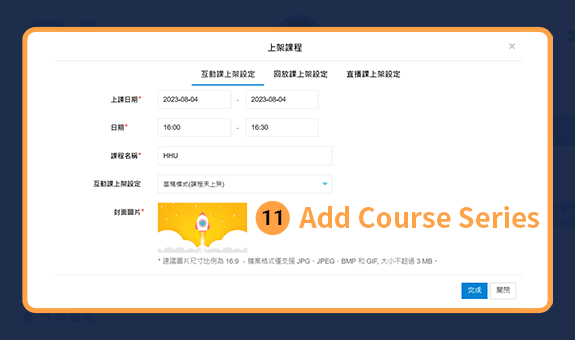
Configure course settings
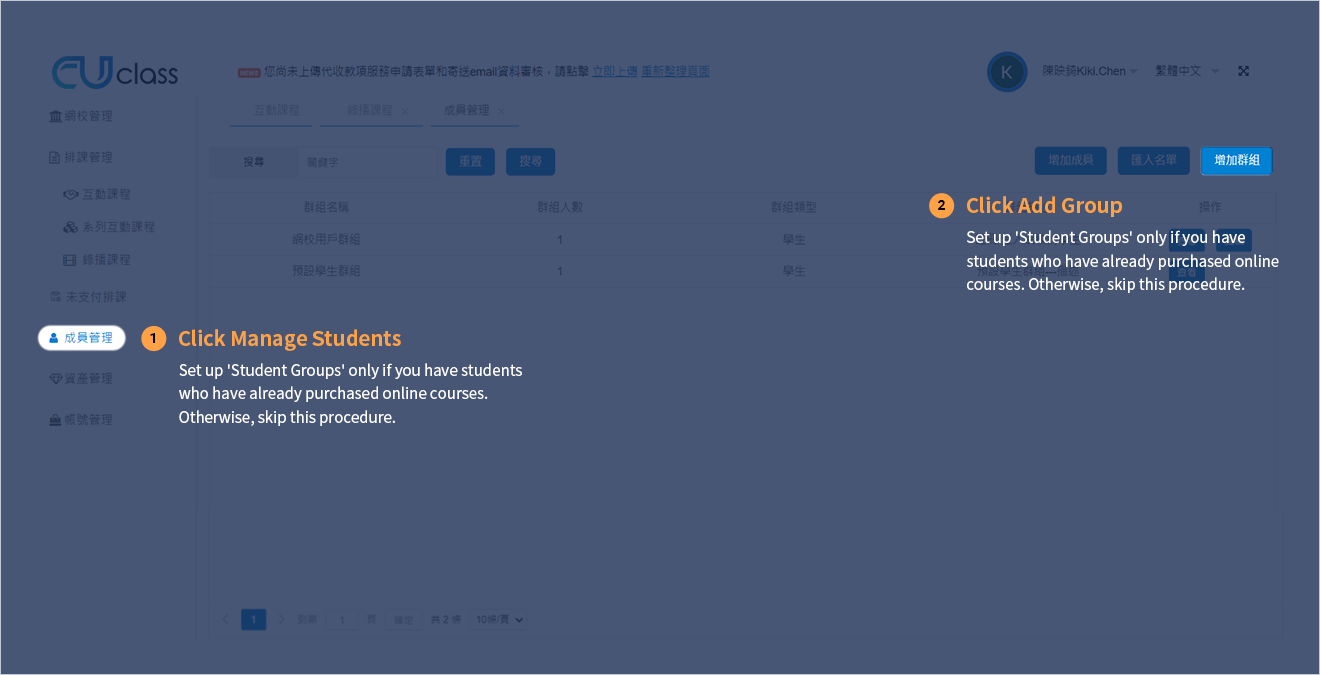
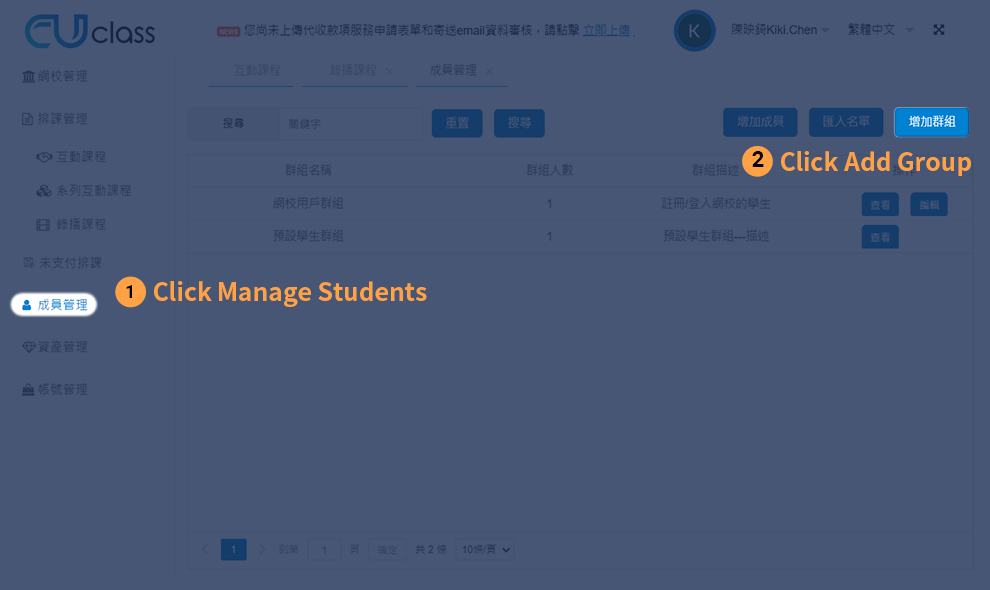
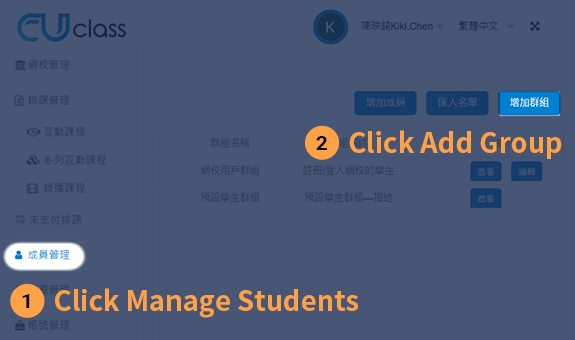
Set up 'Student Groups' only if you have students who have already purchased online courses. Otherwise, skip this procedure.
Set up 'Student Groups' only if you have students who have already purchased online courses. Otherwise, skip this procedure.
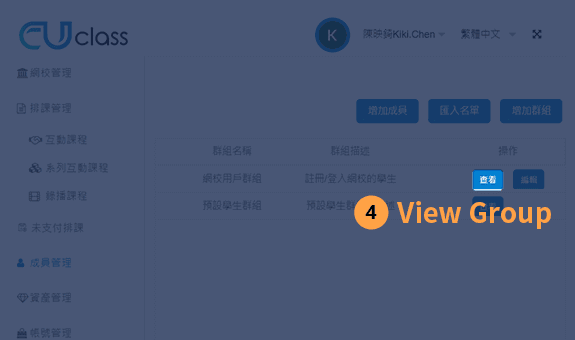
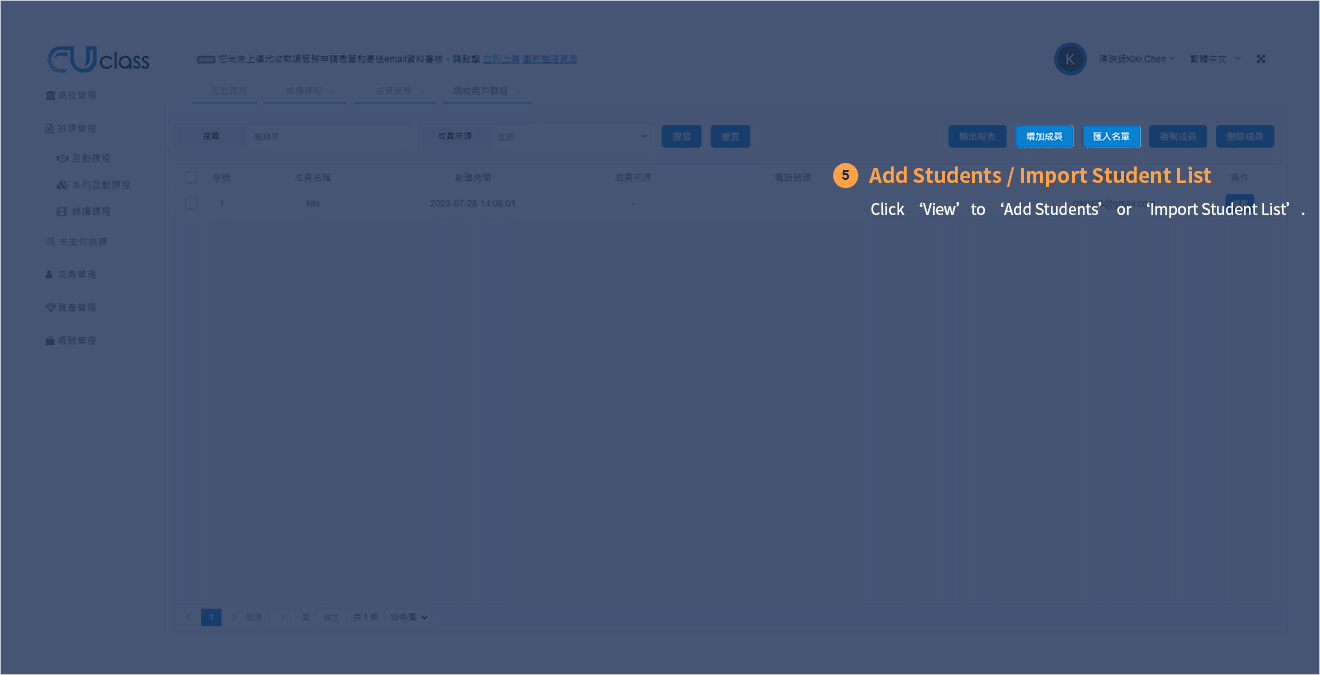
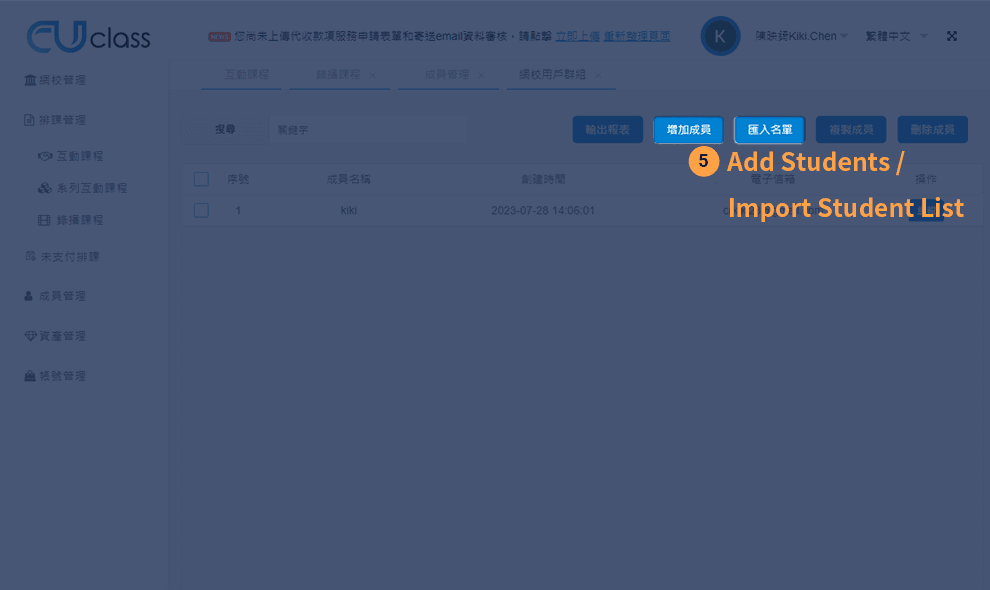
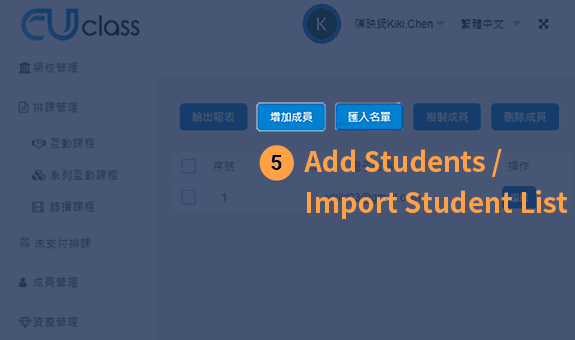
Start Course

Create an Account. Select a Pricing Plan.
Configure course settings
Set up 'Student Groups' only if you have students who have already purchased online courses. Otherwise, skip this procedure.
Set up 'Student Groups' only if you have students who have already purchased online courses. Otherwise, skip this procedure.


Start Course
USER GUIDE
Livestream Course Set Up Instructions for Teachers
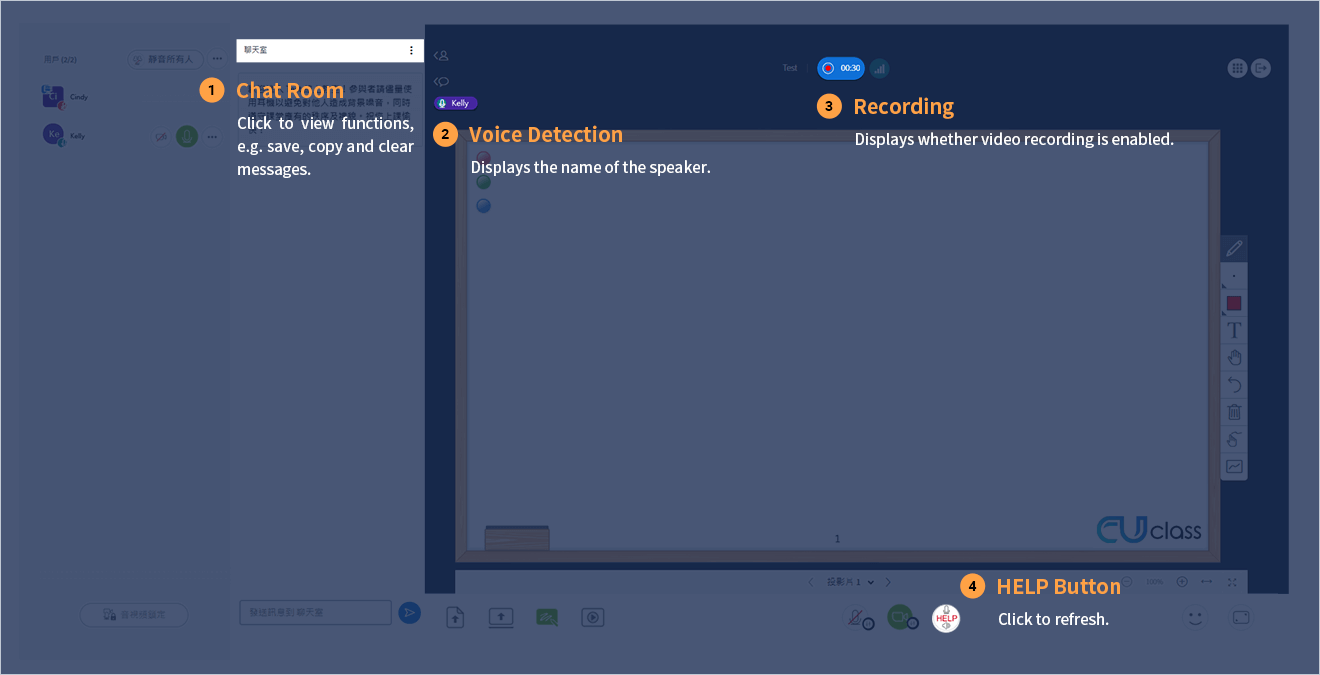
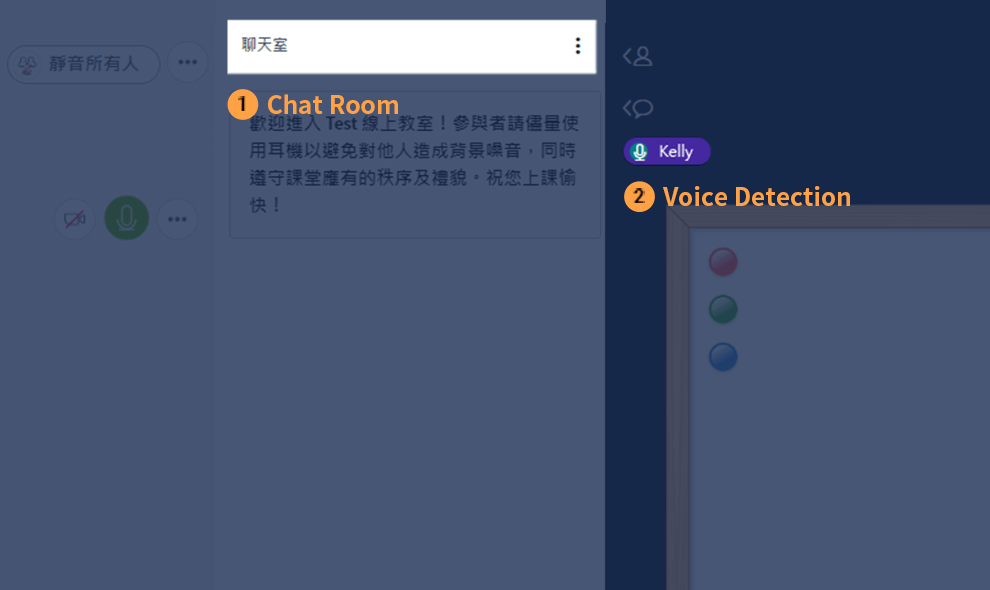
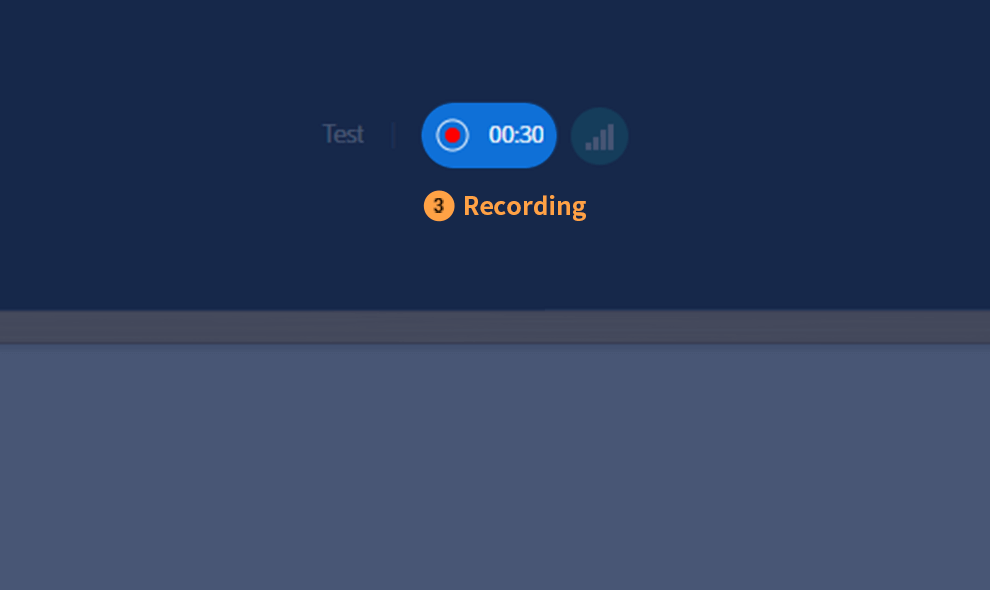
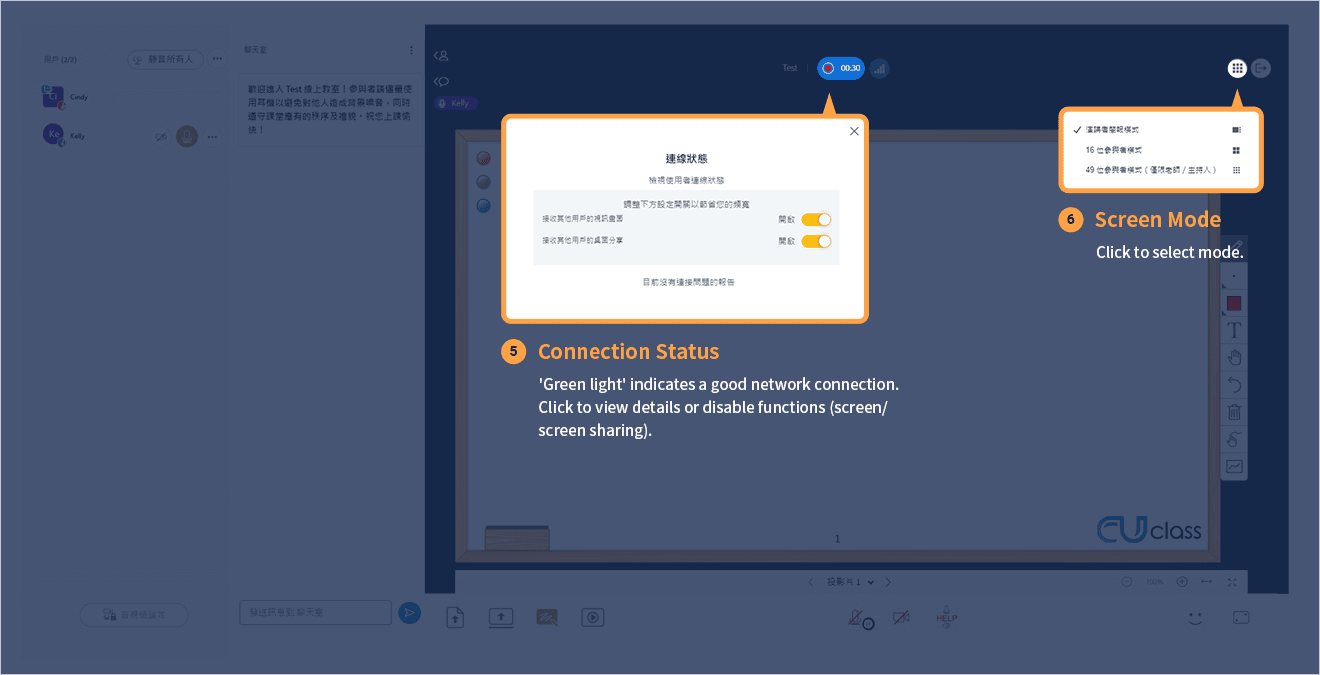
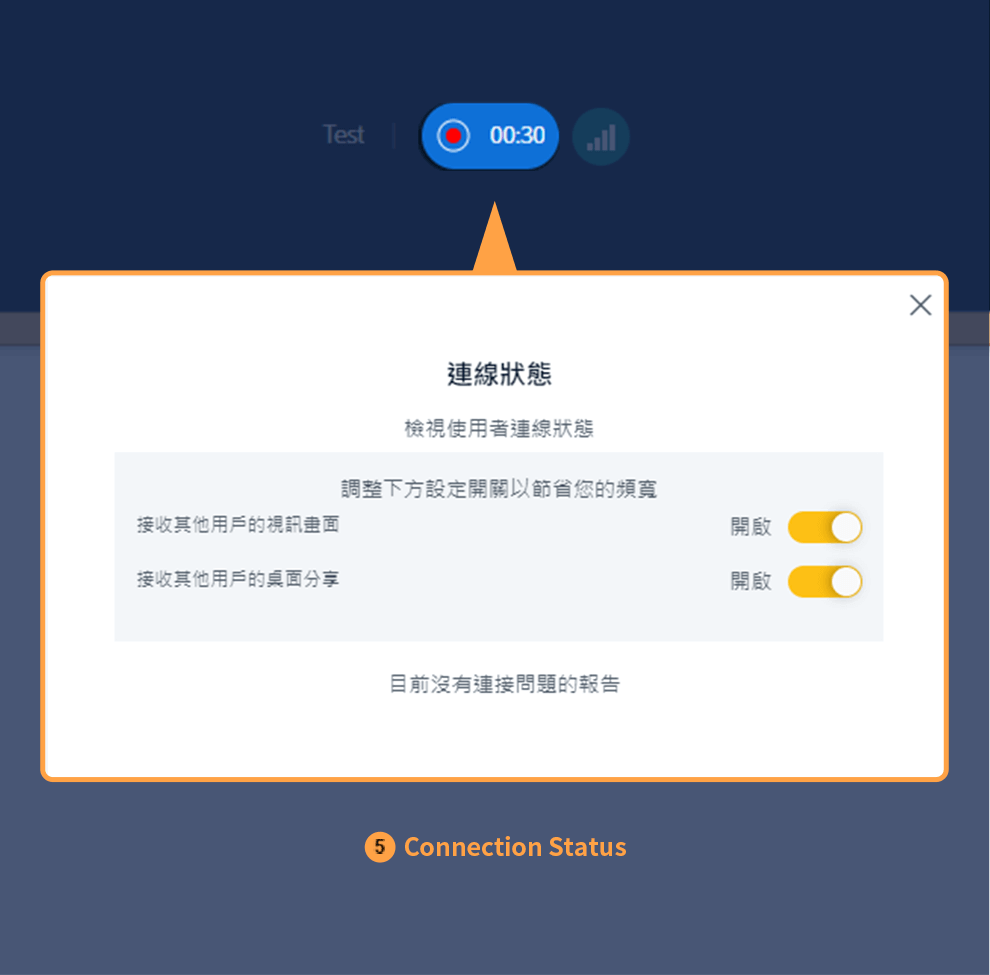
User Interface Intro

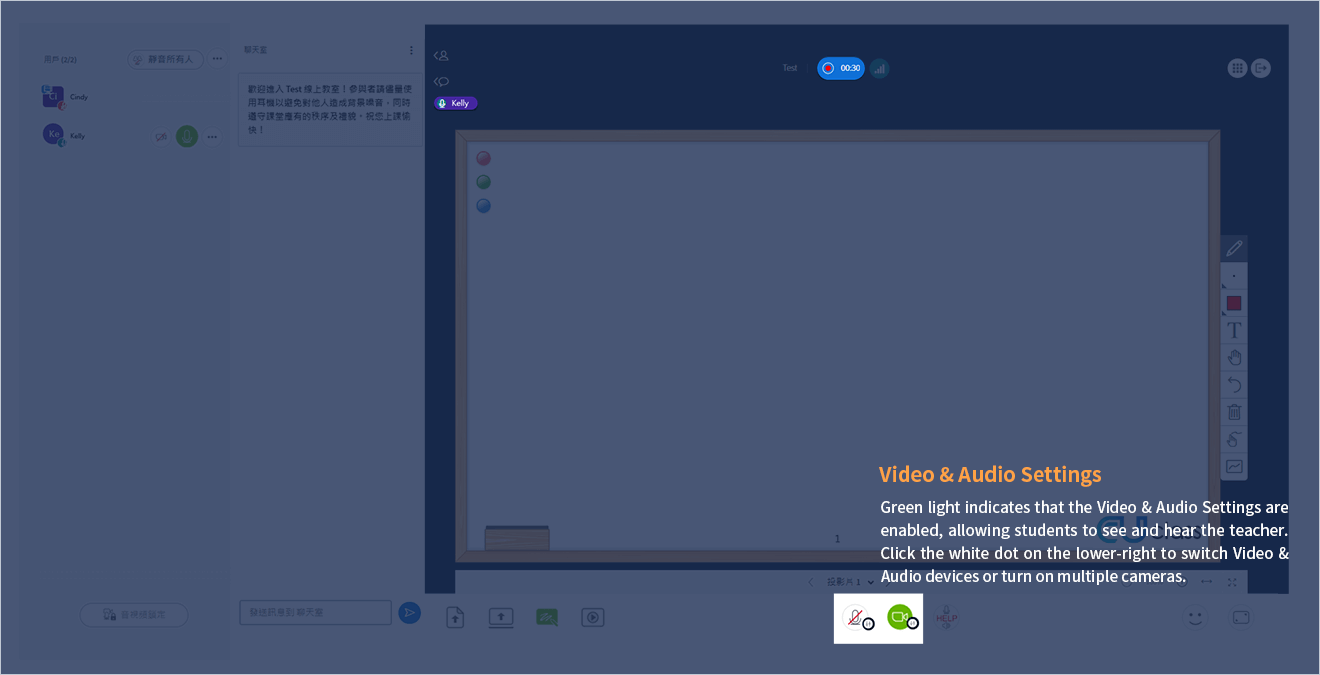
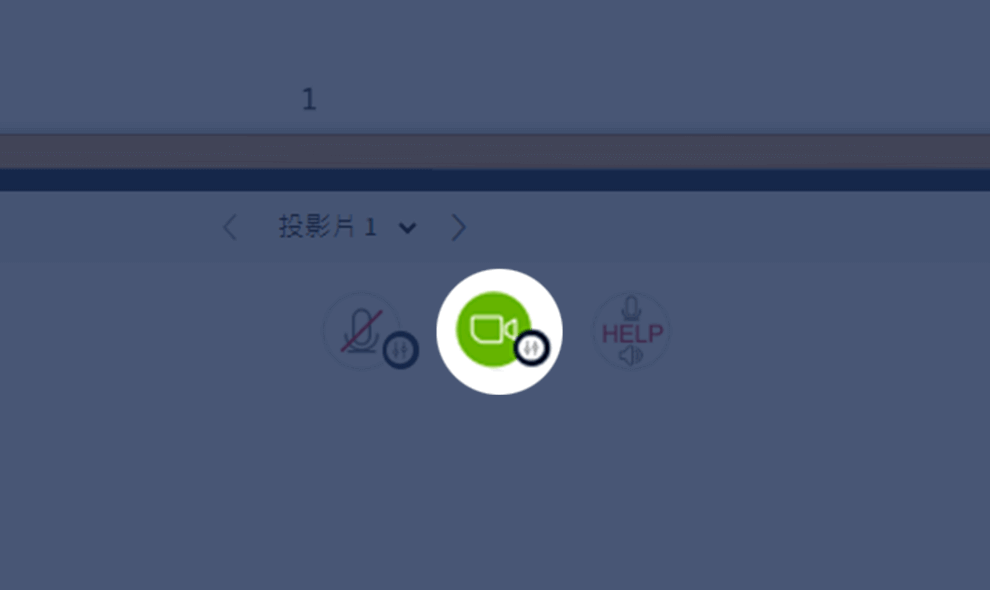
Video & Audio Settings
Teaching Tools
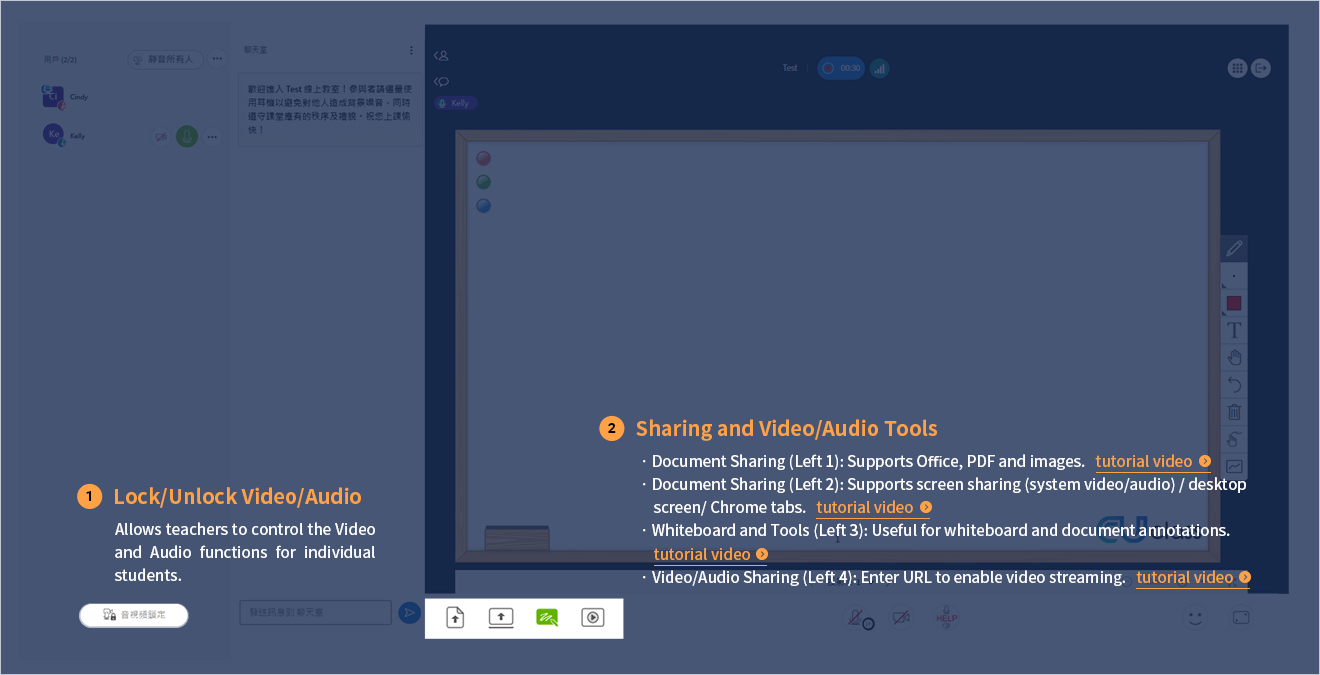
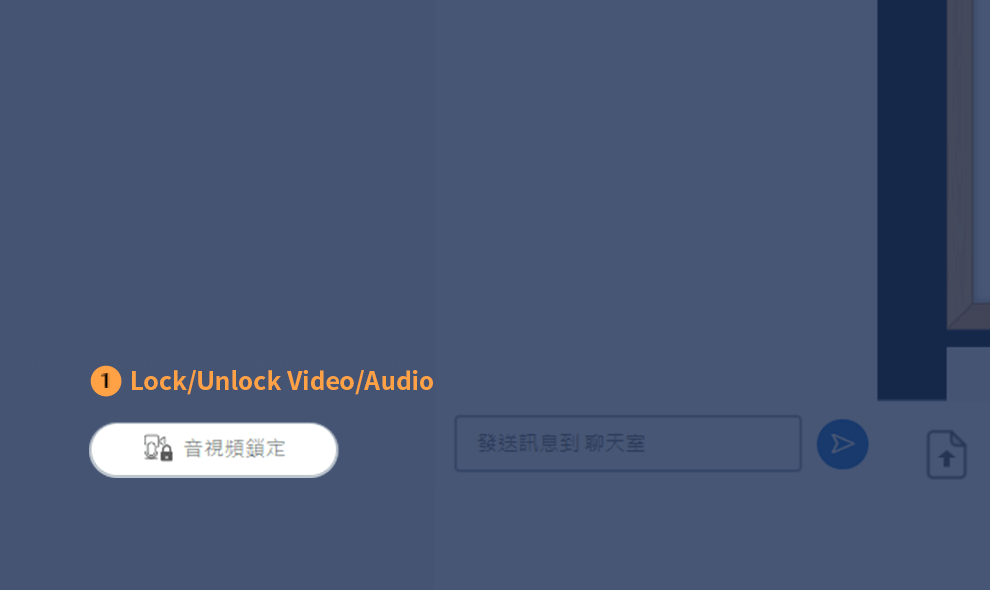
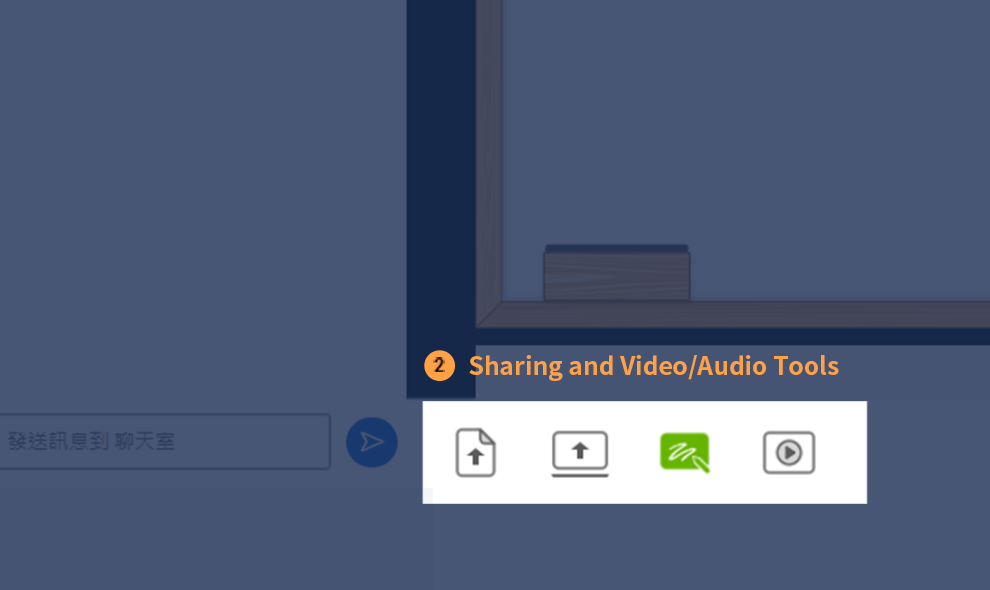
- Document Sharing (Left 1): Supports Office, PDF and images.
- Document Sharing (Left 2): Supports screen sharing (system video/audio) / desktop screen/ Chrome tabs.
- Whiteboard and Tools (Left 3): Useful for whiteboard and document annotations.
- Video/Audio Sharing (Left 4): Enter URL to enable video streaming.
Interaction
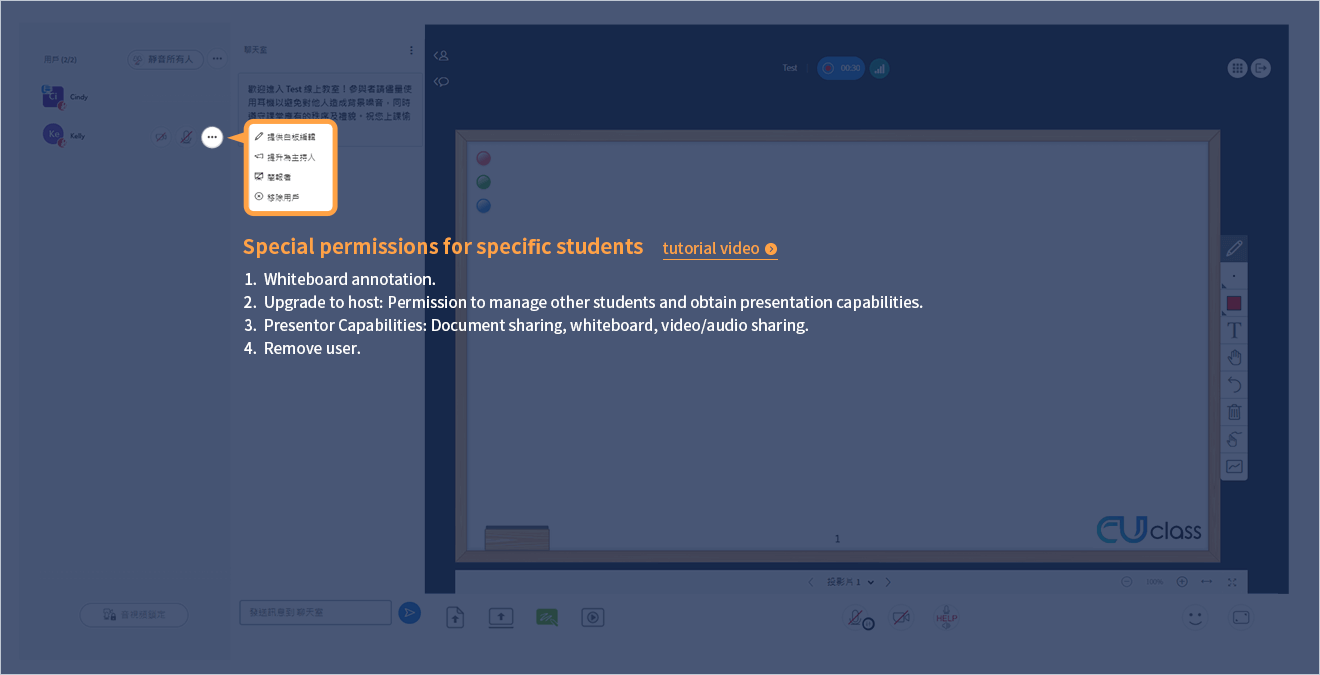
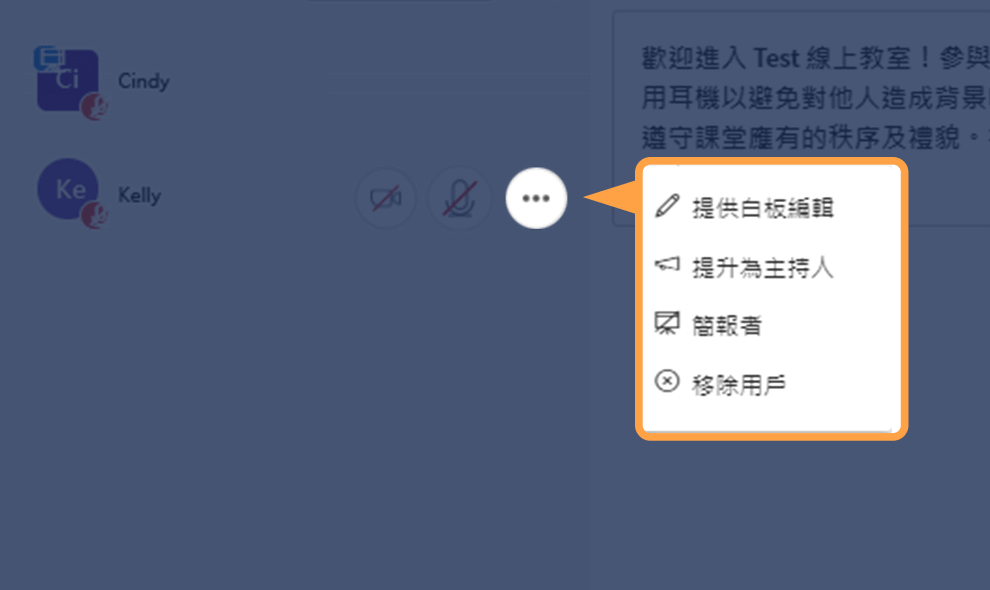
- Whiteboard annotation.
- Upgrade to host: Permission to manage other students and obtain presentation capabilities.
- Presentor Capabilities: Document sharing, whiteboard, video/audio sharing.
- Remove user.
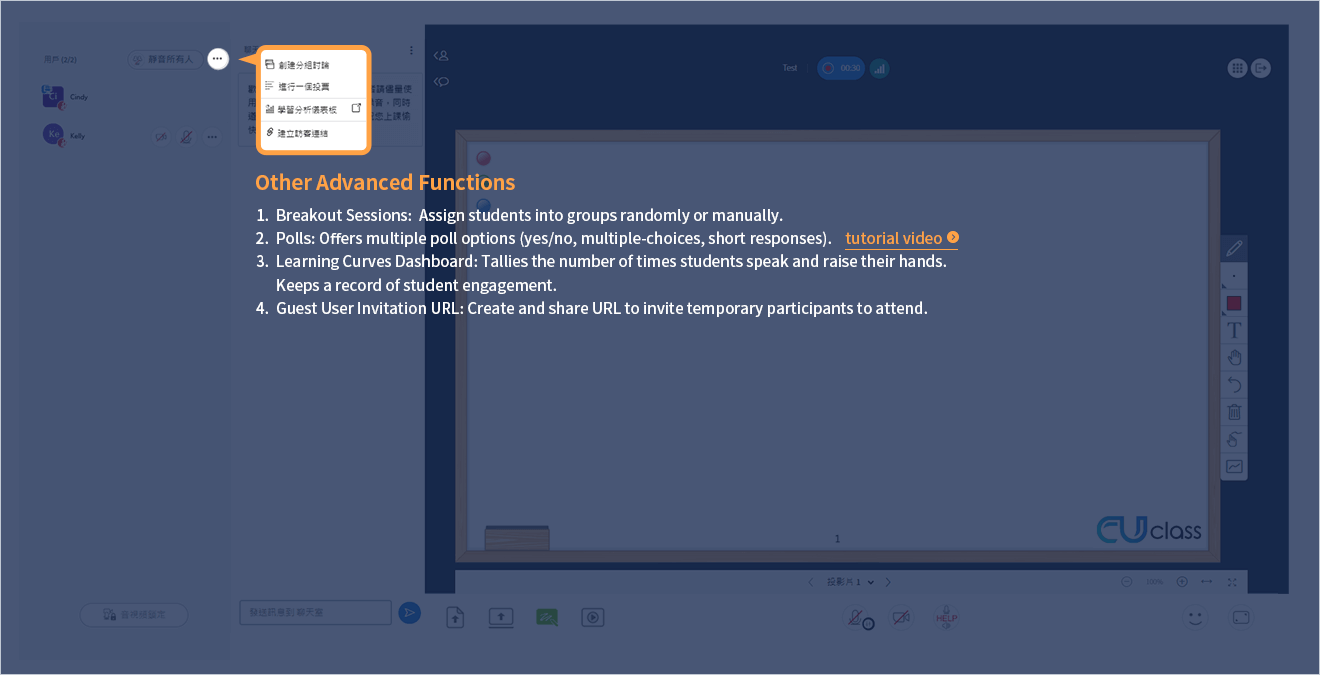
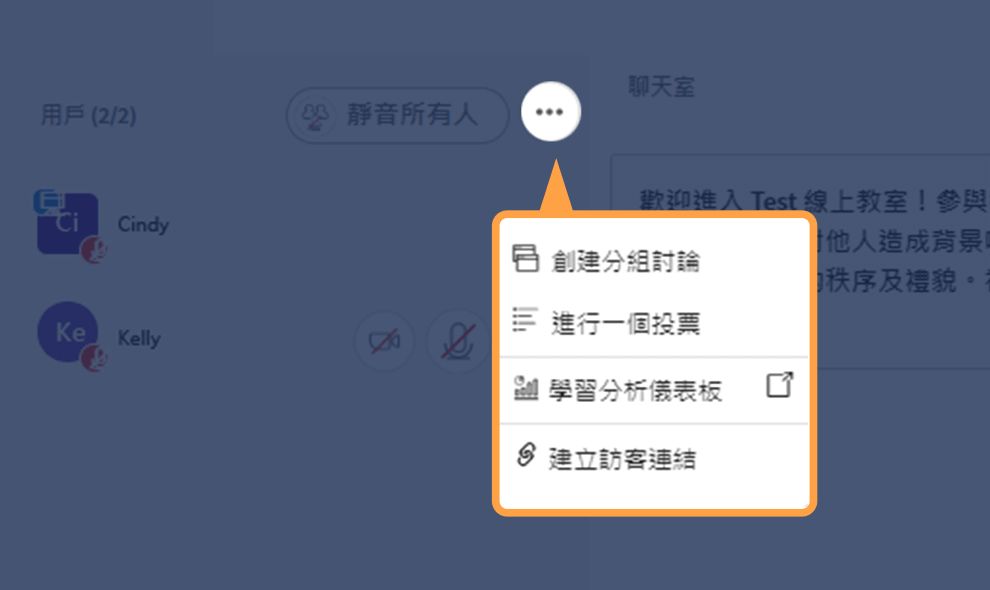
- Breakout Sessions: Assign students into groups randomly or manually.
- Polls: Offers multiple poll options (yes/no, multiple-choices, short responses).
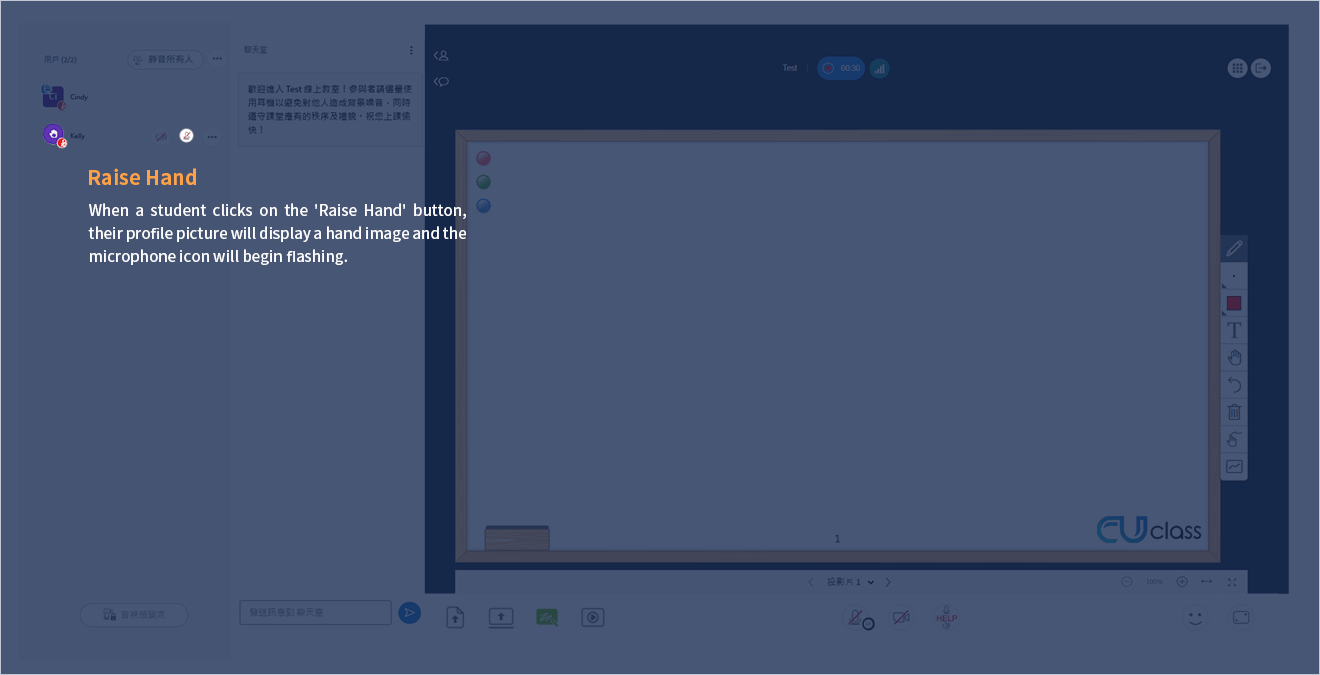
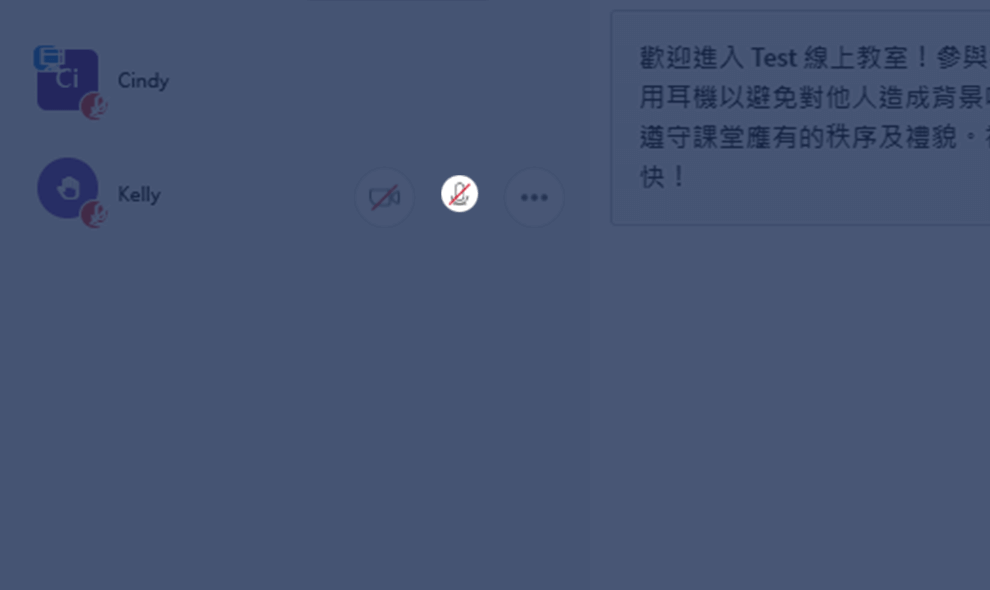
- Learning Curves Dashboard: Tallies the number of times students speak and raise their hands. Keeps a record of student engagement.
- Guest User Invitation URL: Create and share URL to invite temporary participants to attend.
Learn More
CUclass Tutorial Video on Youtube
Watch CUclass’s tutorial video to learn how to navigate the platform. Experience the joy of teaching and learning.
帳號管理

帳號管理
直播開課
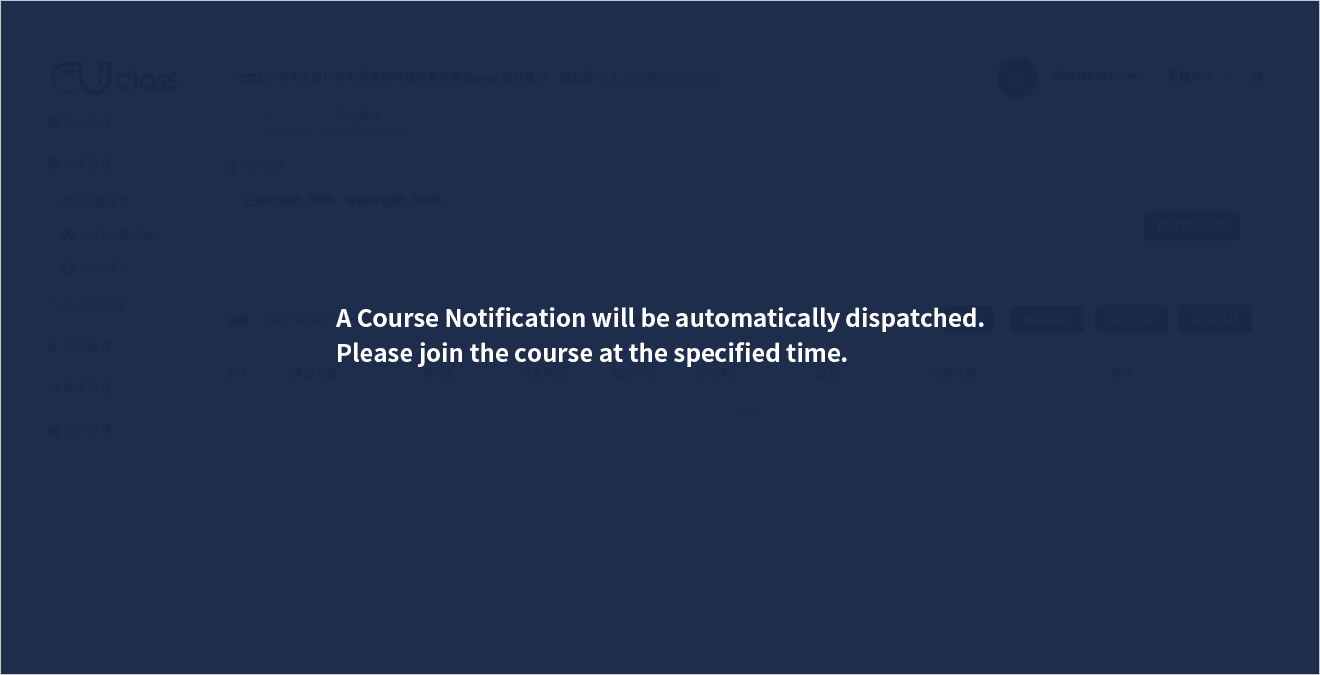
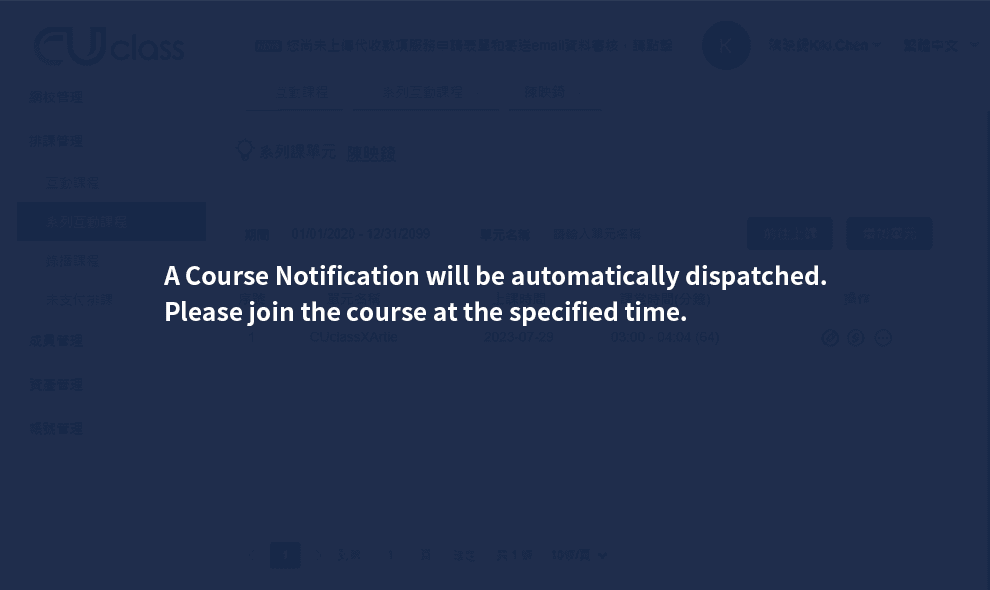
如何進入課堂
回放管理

網路學校-內容管理
直播開課
介面介紹
介面介紹

介面介紹
介面介紹
介面介紹

介面介紹
帳號管理
回放管理-轉為預錄課程

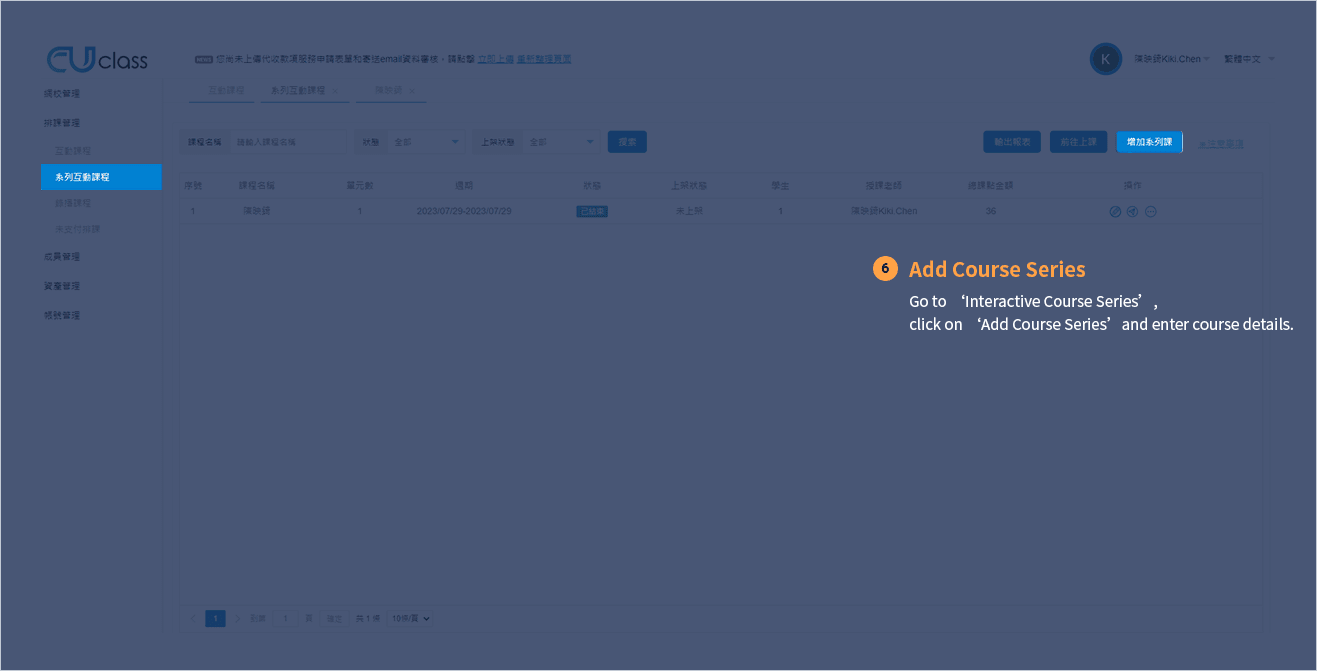
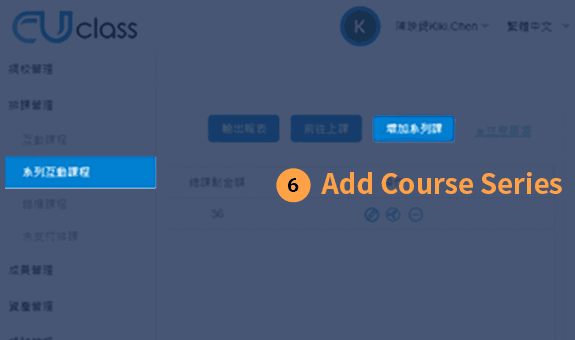
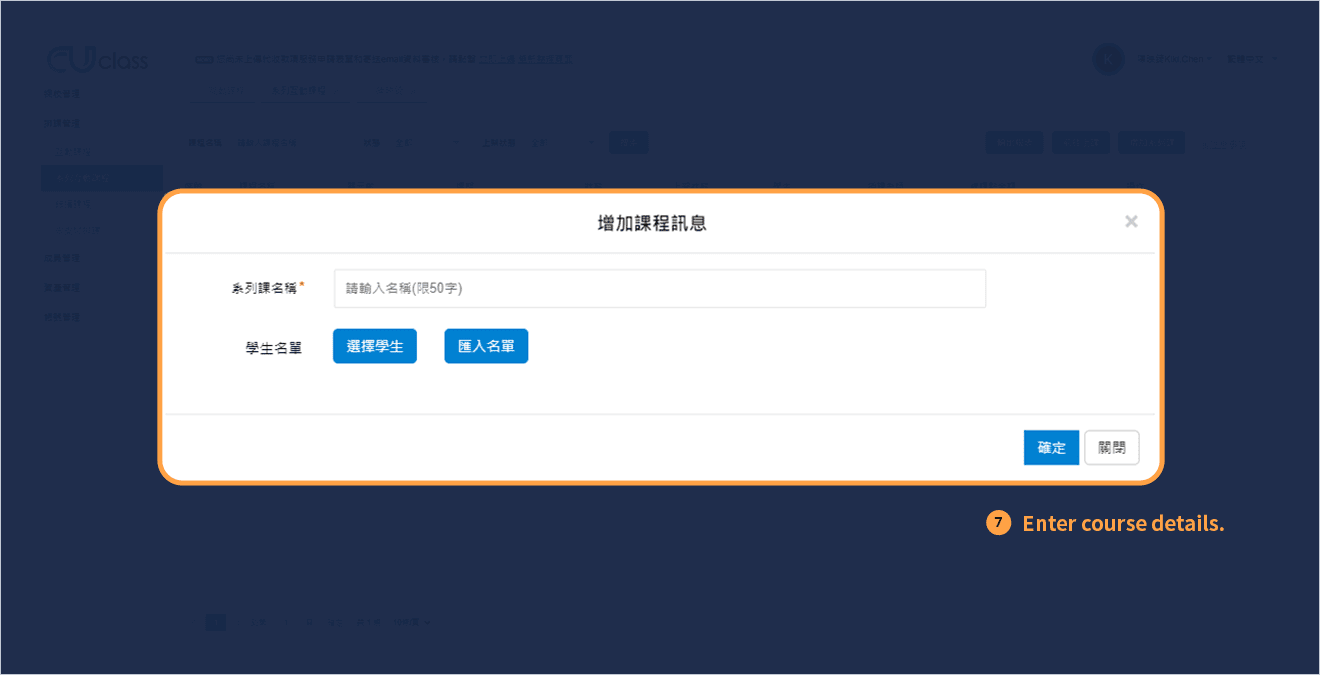
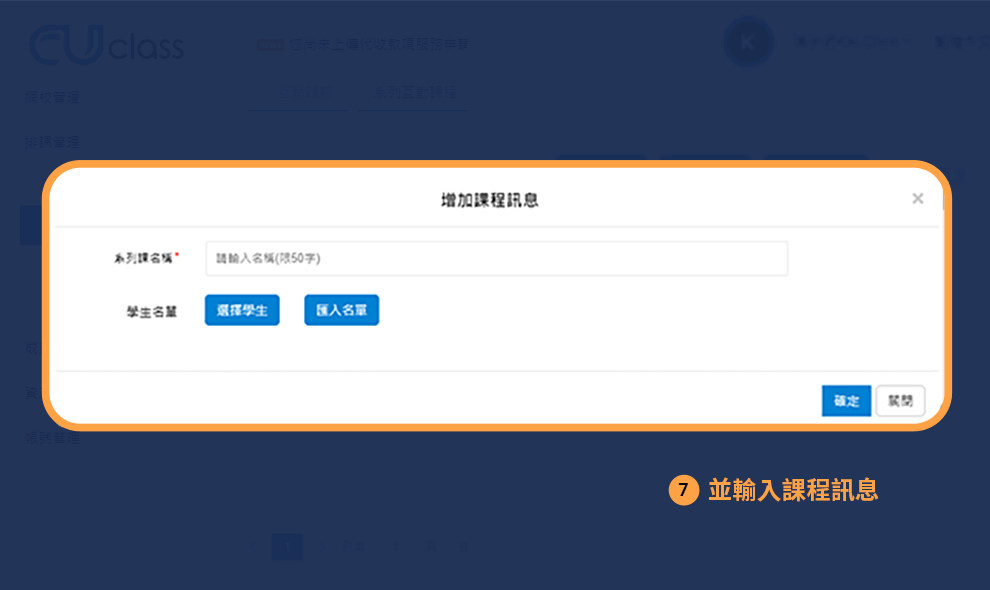
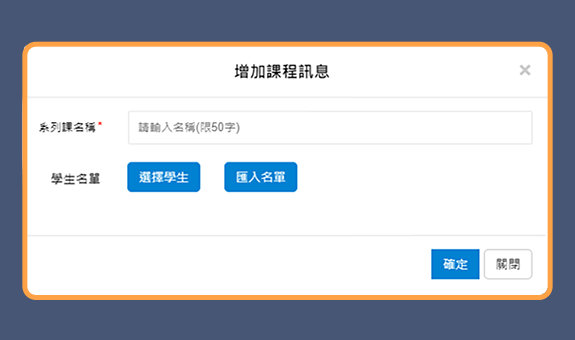
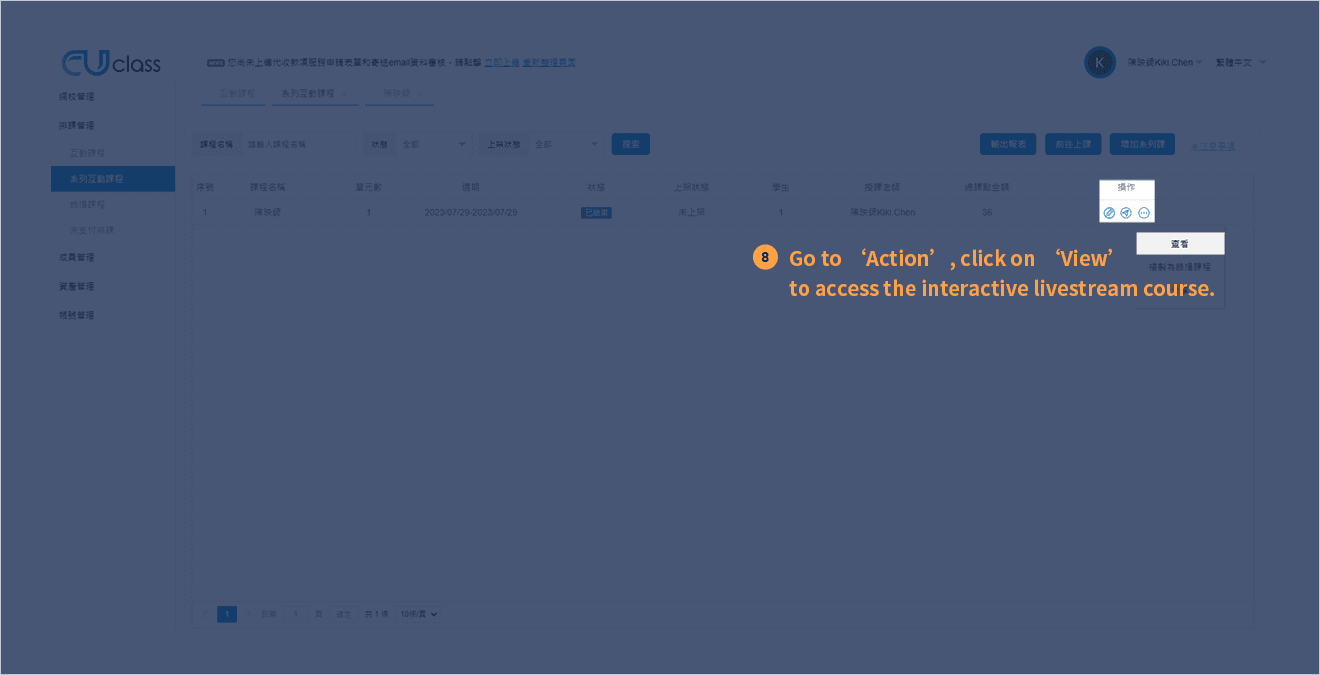
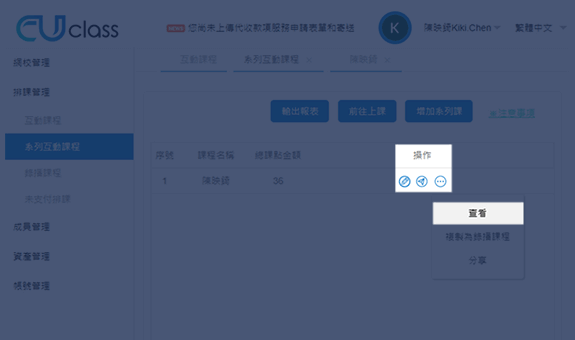
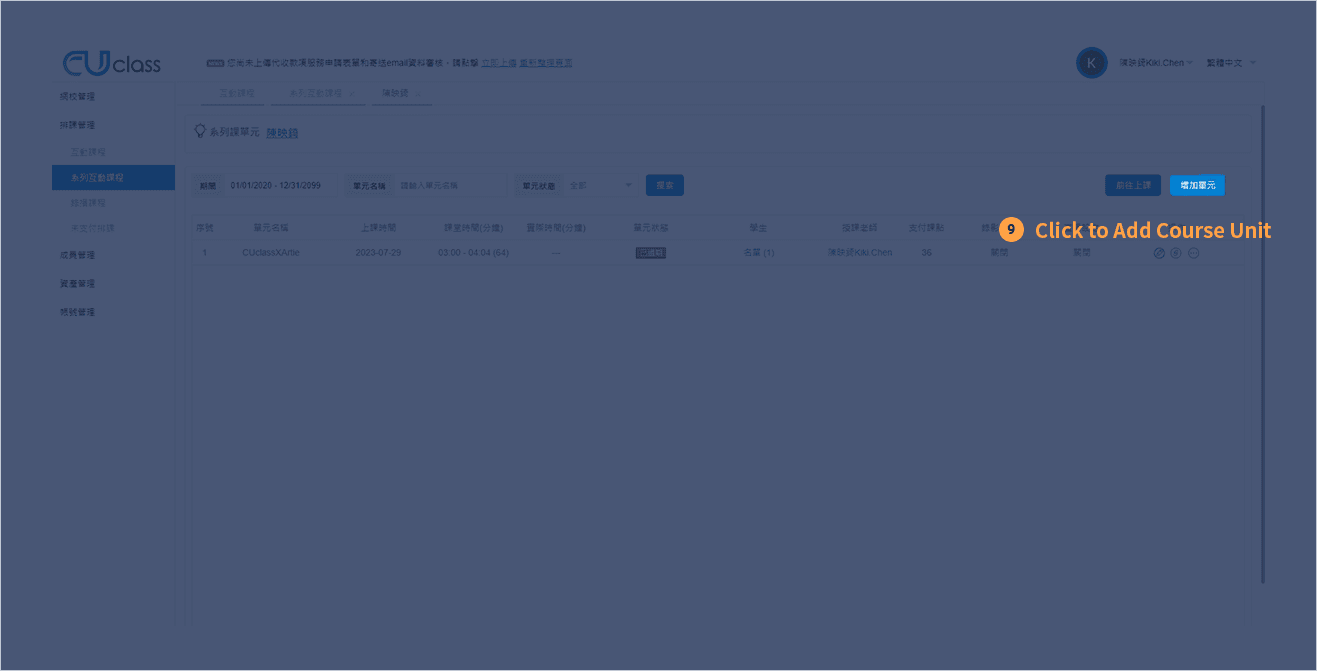
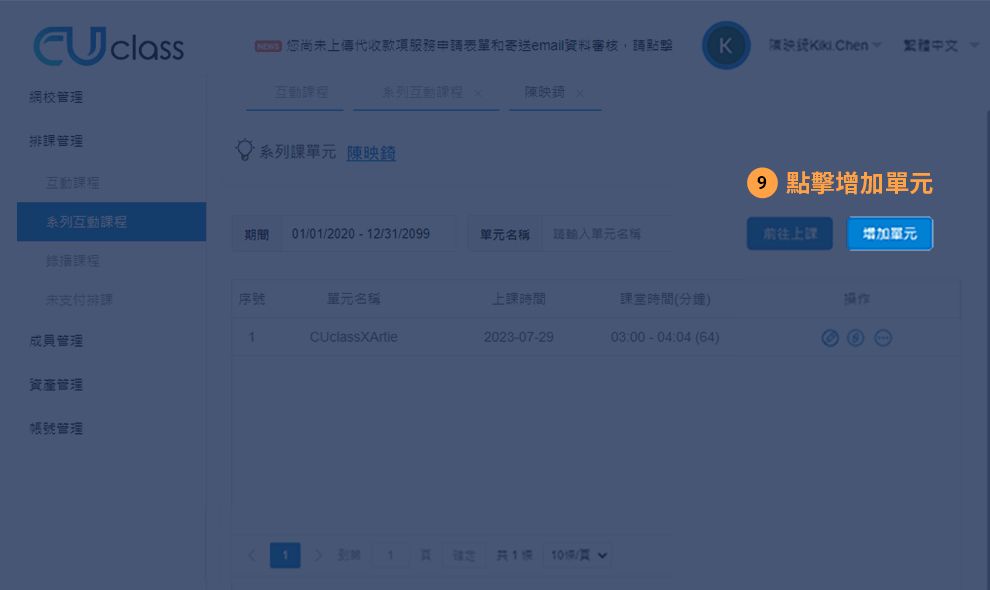
系列直播課程-排課管理
FAQ
Anything else you would like to know?
CUclass has summarized the most commonly asked questions and answers.
如何允許並開啟麥克風及攝影鏡頭?
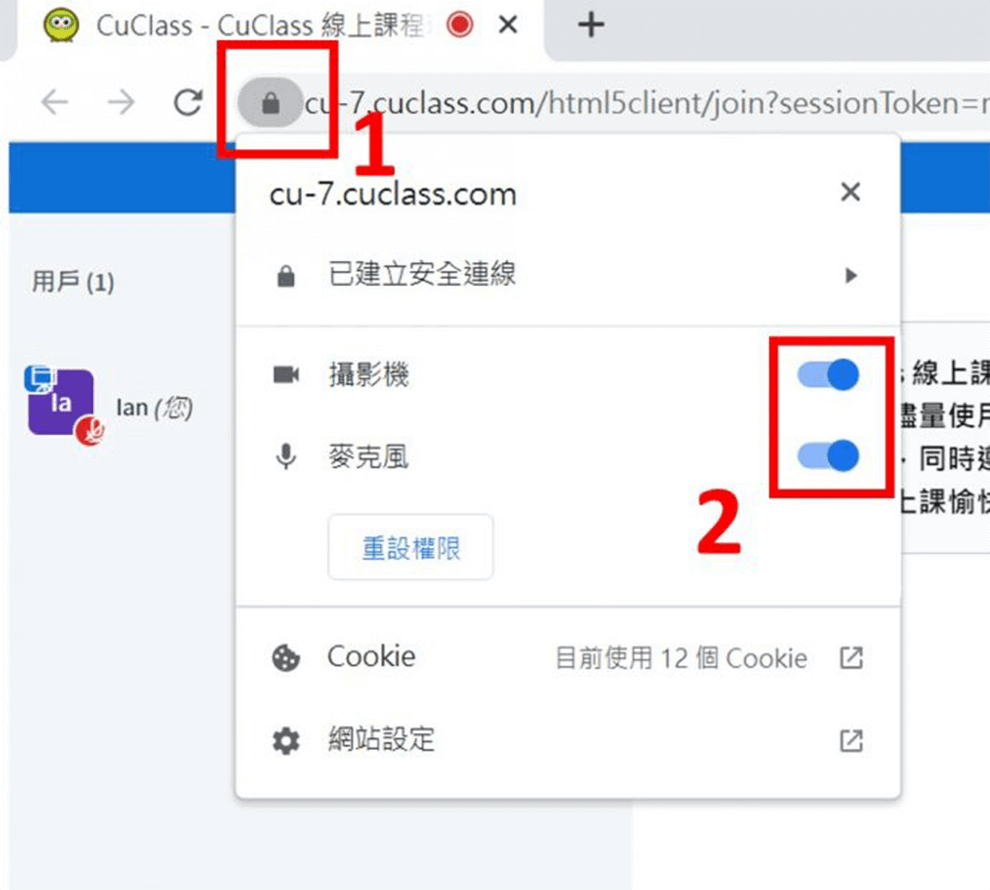
<PC端>
1.點擊網址列左側的鎖定圖示,快顯視窗隨即顯示
2.點擊攝影機與麥克風選項右側的允許開關設定,設定為開啟
3.關閉快顯視窗,按”重新載入“
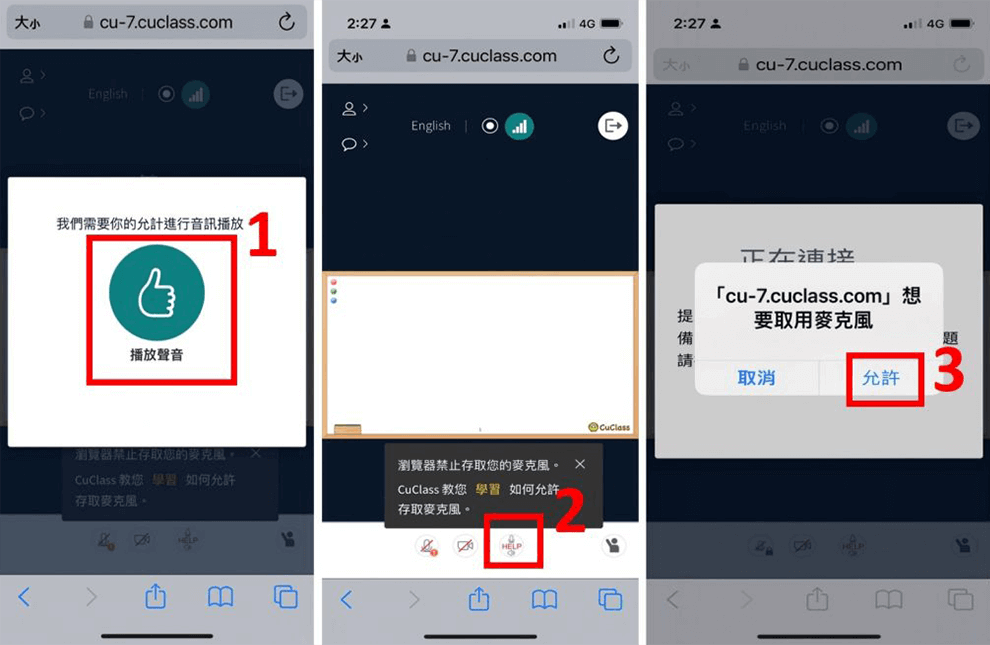
<iOS移動端>
1.點擊提示訊息中的”播放聲音”
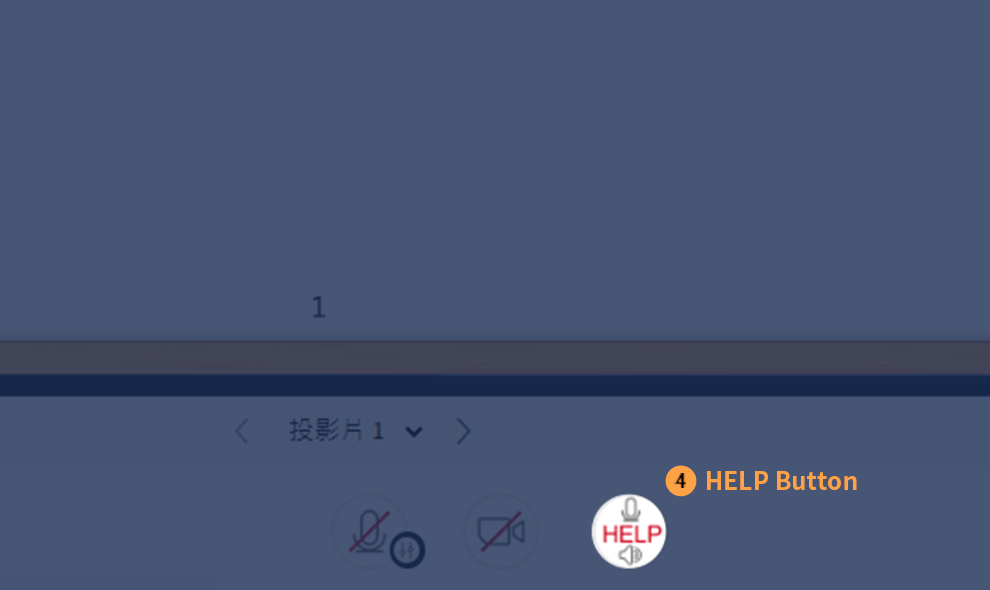
2.點擊下方的HELP鍵,重新整理
3.按“允許“,授權使用
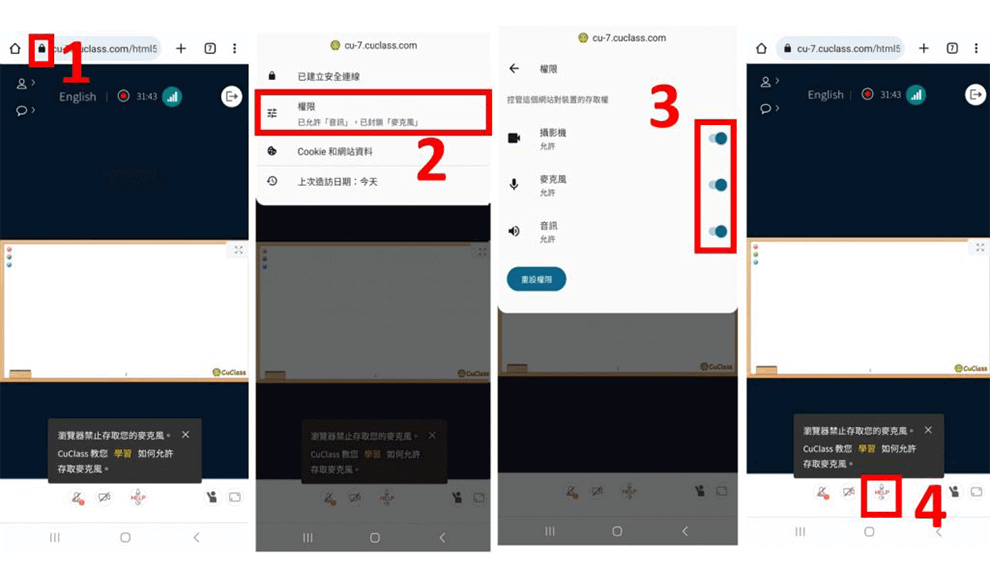
<Android移動端>
1.點擊網址列左側的鎖定圖示,開啟下拉選單
2.點擊選單中的權限,開啟權限選單
3.將攝影機、麥克風、音訊的開關設定為開啟
4.點擊下方的HELP鍵,重新整理
如何將簡報畫面放大?
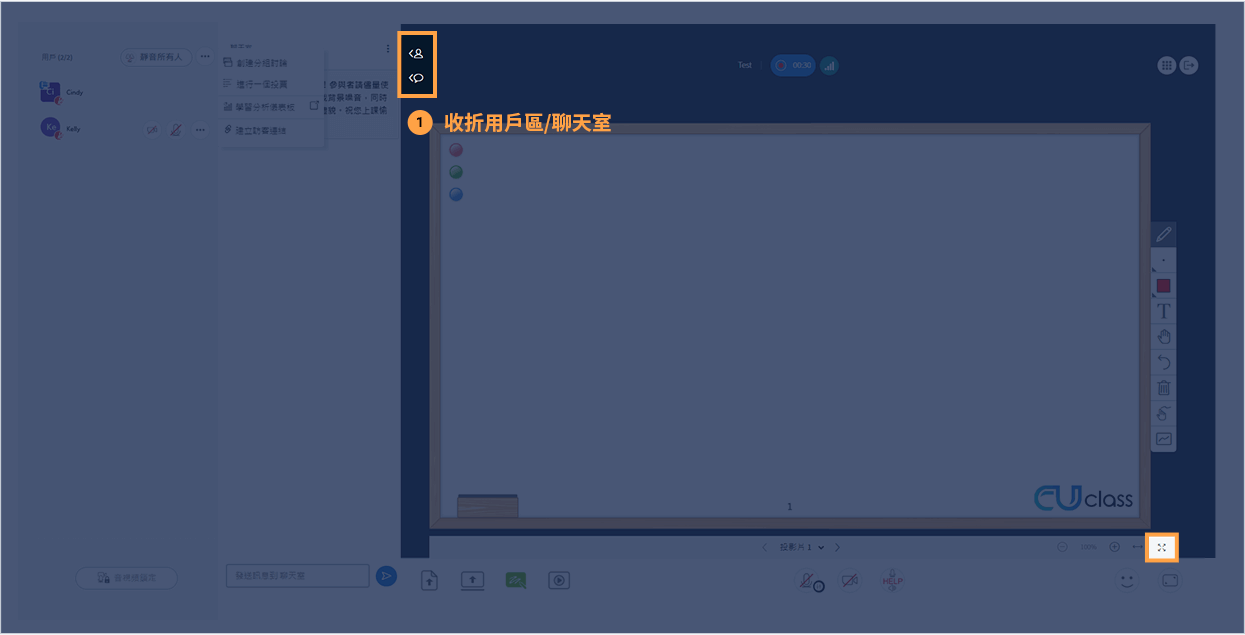
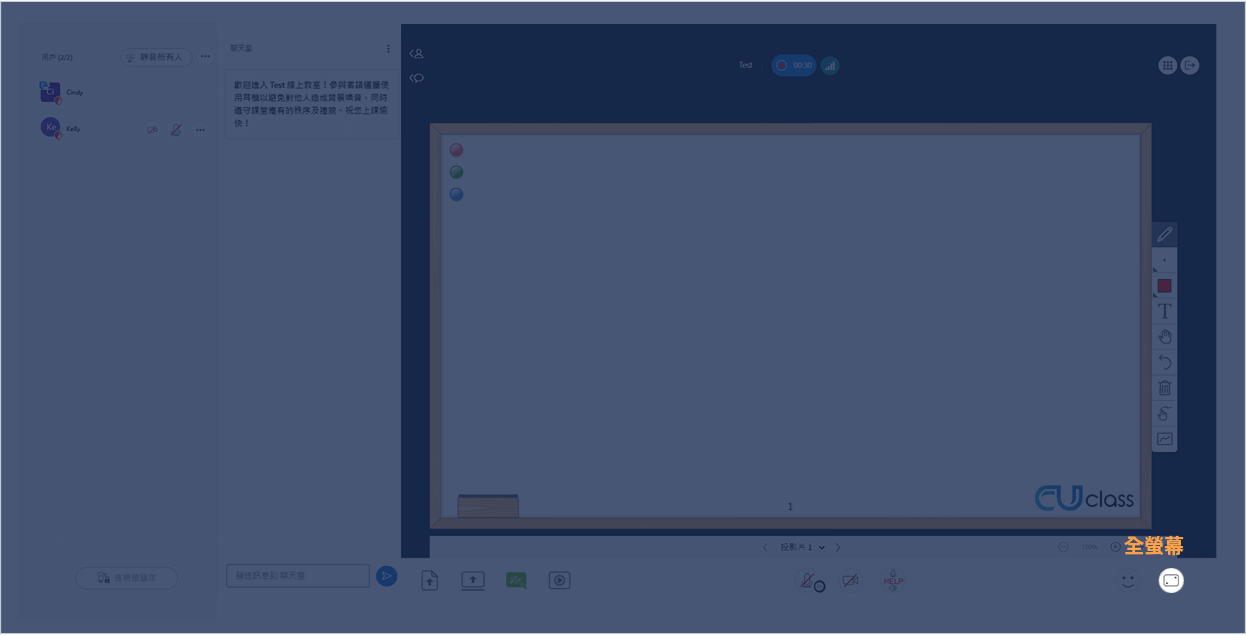
如何將整個畫面放大?
Get Started